Sunday, September 30, 2012

Bourbon Meatballs

I'm always looking for new twists on recipes that I know will be a big hit.  For our down home cooking party, I made Pa's Bourbon Whiskey meatballs.

Ingredients:
1 lb bag of frozen meatballs (I happened to use beef this time since they were on sale)
1/2 C ketchup
1/2 C brown sugar, packed
1/4 C bourbon whiskey (I used some 5 buck chuck)
1 tsp fresh lemon juice
1 tsp Worcestershire sauce.

Directions:
1. Place frozen meatballs in the crock pot
2. Mix remaining ingredients and pour over meatballs, stirring to coat.
3. Turn heat up to high for about an hour, stir 2-3 times.  Then, once the meatballs have somewhat thawed, kick the heat down to low and let it go until they're all cooked and thoroughly warmed (another hour or two), then keep on warm throughout the party.

Thursday, September 27, 2012

Mini (Turkey) Meatloaf-s with Garlic Smashed Potatoes

I LOVE my mom's meatloaf.  Everyone else's?  Not so much.  However, I had 3 lbs of turkey mince in the freezer, and while my mom would never use turkey in a meatloaf (pork and beef mixture only, thank you) I had to find a way to adapt her recipe to be suitable for turkey.  Oh, and then find a way to bake it in individual cups and frost it with some mashed potatoes.  Ha!  The things I will do for my place of employment...
For the mashed potatoes, I just did my standard recipe of potatoes, pepper, salt, garlic, garlic salt, butter and cream to taste.
And they're lumpy because I LOVE LUMPY MASHED POTATOES. (I love how this blog turns into a confessional from time to time.)

Meatloaf Ingredients: (adapted by combining my mom's recipe with Cooking Light's version)
1 tsp olive oil
1/2 C onion, finely chopped
3 garlic cloves, pressed
1 1/2 lbs ground turkey
1/2 C ketchup
1 C saltine crackers, finely crushed
2 T mustard
1 T Worcestershire sauce
1/4 tsp (each) ground black pepper, safe, celery salt, and garlic salt
2 eggs, beaten
Cooking Spray

Topping Ingredients:
1/2 C ketchup
4 T brown sugar
4 T cider vinegar
Topping Directions: whisk all together.

Meatloaf Directions:
1. Heat olive oil, and saute onion and garlic.  Cool.
2. In a large bowl, mix everything, including cooled onion and garlic.
3. Spray 12 C muffin pan.  Divide meat loafs evenly. (I used silicon cups instead)

4. Drizzle with topping.
5. Bake at 350 for 25 minutes.
6. Top with warm mashed potatoes and serve.  (Use a frosting tip to make them prettier than mine)
Sorry, I didn't have a frosting tip with me, and the zip lock baggie had this weird bottom that didn't have a corner...
Still here?

Funny story.  I had a friend who stopped by after the party and I sent her home with leftovers.

The next day, when I say her, she thanked me for the "Chicken Parmesan" dish, and told me that she and her fiance absolutely adored it.

I stayed silent.

Sigh.

Monday, September 24, 2012

Honey Pepper Bacon Pops


Everyone loves bacon, right?  Every time I host a party, anything wrapped in bacon tends to be my biggest hit.  Even the bigger flops are easily ignored when there's bacon involved.  It's like the magical cure-all at a party.

Even more so when it's just bacon.  ON A STICK.

That's right, kids.  Who needs cake pops when you can have honey pepper bacon pops?!

Ingredients:
24 mini-skewers (about 4", but bigger than a toothpick)
1/2 C honey
1 T soy sauce
2 tsp Chinese five-spice powder
1 tsp fresh ground black pepper
16 oz thick cut bacon (cut in half)

Directions:
1. Take pre-cut bacon and lay on a lined broiler sheet.
2. Bake at 400 for 15 minutes.
3. While that is cooking, combine honey, soy sauce, five spice, and pepper until smooth and thin.
4. Remove bacon from oven, and skewer the bacon.  Brush both sides of the skewer with the honey  mixture.
5. Bake for 5 more minutes, until nicely crisp.  Remove and serve warm.

Don't mind the darkest edges.  We reheat them in the oven a bit too long.  Still tasted great, though!

Friday, September 21, 2012

Buffalo Chicken Bites

If you were a biblical type person, you might understand the allusion to a Doubting Thomas.

No, I'm not referring to my husband, but to myself in this case.

When I originally found this recipe, I was all gung-ho, all steam ahead, I can't wait to try it!  There aren't a lot of ingredients, the premise sounded easy enough, and I was on it like a bonnet.    It's when I got halfway through the recipe that I started having doubts...
Ingredients:
1 lb boneless, skinless chicken (I bought pre-cooked)
1 pizza dough (I bought pre-made)
1 onion, chopped
2 T butter
1/2 C Buffalo sauce
2 C fresh mozzarella
Directions (original):
1. Saute onions in butter, add chicken and continue until fully cooked (this was quick for me since mine was already prepared).
2. Add Buffalo sauce, heat through.
3. Divide pizza dough in half and roll out.
4. Spread out half the chicken and top with half the mozzarella.
5. Roll (like a cinnamon roll), slice into 2" rolls, and place in a greased muffin tin.
6. Bake for 15-18 minutes, at 400, until cheese is bubbly and dough is lightly browned.
Okay, so this part of the plan went off really well, but I started to doubt what this would look like when I took it out of the oven.  Plus, I had only made 12 'cupcakes', and I was expecting a party of 50.  I decided to revamp the recipe to make 24+ mini muffin/bite sized treats instead.

That being said, here's my revamped directions...
Directions (revamped):
1. Follow steps 1-3 above.
2. Cut dough into 24 even pieces (I just made squares).
3. Place in the bottom of a greased mini muffin tin
4. Add 1 tsp of the Buffalo chicken mix to each tin
5. Top with pinch of mozzarella
6. Bake at 400 for about 10 minutes, or until dough is lightly browned and cheese is bubbly.

I LOVED the large size, and split that tin with my assistants, but everyone loved the bite sized ones, and since we doubled the recipe, we had a ton of them! (48+ per recipe).

The dark around the edges is the cheese that overflowed/overcooked on the tin itself.  Still delicious!

Tuesday, September 18, 2012

Chocolate Mint Triangles

Okay, so back in the early days of my blog.

Really early, like May 2011, y'all, I made a post about After Dinner Mint Triangles.

It didn't turn out well that first time.  Tasty?  Yeah, you betcha.  Pretty?  Not so much.

This time, I put in my best girl, Ashton, on it, and she made that recipe work!


Ingredients: (Crust)
2 pkg Grasshopper Cookies (or Thin Mints),  finely ground
1 stick of butter (1/2 C)
1 1/4 C semi-sweet chocolate chips

Ingredients: (Topping)
10 oz vanilla almond bark (or candy coating)
8 oz cream cheese, softened
1 tsp peppermint extract
8 drops of green food coloring
1/4 C semi-sweet chocolate chips
Directions: (Crust)
1. Melt the butter and chocolate together in the microwave, stirring every 30 seconds until smooth.
2. Mix with finely ground Grasshoppers.  (Sounds gross, but they're cookies, not grasshoppers...)
3. Press into a non-stick foil lined 9x13.  (We doubled the recipe, so we used a huge cookie sheet.)
4. Initial your work and be proud of it!
4. (for reals) place in the freezer while you prepare the topping to help it solidify more quickly.
Directions: (Topping)
1. Melt the vanilla bark/candy coating in the microwave, stirring ever 30 seconds until smooth.
2. Using a hand mixer (easiest), mix melted bark with cream cheese, peppermint extract, and food coloring.  More if you'd like it darker, less or none if you don't mind the association of green and mint.
3. Spread the topping over your crust.
4. Melt the chips and drizzle over the top to decorate.
5. Store in fridge until ready to serve.
Tip 1: When you go to cut the triangles, this is when that non-stick foil comes into play.  Use it to lift out the entire dessert and place it on a cutting board.  This way you won't have the dish in your way, and you won't leave cut marks in the bottom of your dish.

When I was giving this recipe to one of my residents who had really enjoyed the treat, she didn't know how to easily cut the treats into triangles.  I'm not judging, but... Tip 2: Cut it into long strips, then make each strip into squares, then cut each square diagonally to create triangles.

omnomnomnom!

Saturday, September 15, 2012

Ashton's Artichoke Dip


Ashton fits in our freezer!

I'm very lucky to have such amazing assistants.  I'd like to take a moment, though, to thank my most frequent kitchen assistant, Ashton, for posing for countless pictures for all of your enjoyment.  Chances are if you've caught a piece of body or hands in a photograph, they certainly weren't mine.

So, in honor of my great assistant, I will share her secret family recipe for an AMAZING artichoke dip.  (I apologize in advance to her family for letting the cat out of the bag.  But not really...)


Ingredients:
2 C mayonnaise
2 C Parmesan cheese (powdered)
2 cans of water packed artichoke hearts
1/4 C fresh parsley, chopped
5+ garlic cloves, pressed (the more the merrier!)
~1 C shredded cheese of choice to melt on top


Directions:
1. Combine mayo and Parmesan cheese
2. Drain and chop artichoke hearts.
3. Combine artichoke hearts with garlic and parsley.
4. Mix everything together.
5. Sprinkle extra cheese shreds on top.
(We had a 4 cheese Mexican mix plus some left over mozzarella.  We just threw it all on there.)
5. Bake at 350 for 30-40 minutes, or until nice and bubbly.


I used my stoneware for this, since it holds the heat so nicely.


Any pie dish, Pyrex, or other oven safe dish is acceptable.


Regardless, everyone will RAVE about about it and there will be NONE left over.


Wednesday, September 12, 2012

PB Chocolate Banana Bites

Ready for an awesome snack or dessert that can make your day?

So simple, and it's only three ingredients.

THREE!!

Kasie!
Ingredients:
Bananas
Peanut butter
Chocolate Chips

Directions:
1. Slice bananas into 1/4" slices.
2. Place about 1 tsp of peanut butter on one banana slice, and cover with a second slice, creating a sandwich.  (More or less, depending on preference)

3. Melt chocolate chips (about 1 c at a time) in the microwave, stirring every 30 seconds until smooth.
4. Dip PB banana sandwiches in the chocolate.  My lovely assistant of the day, Kasie, found it easiest to hold each sandwich on a fork (resting on top, not pierced) and then use a spoon to drizzle the melted chocolate on top.
5. Stick in freezer on parchment paper until ready to eat.


While these didn't turn out pretty, once they came out of the freezer, they looked more 'normal', and it didn't matter much, since everyone devoured them.

Literally.

DEVOURED.


Sunday, September 9, 2012

End of Summer Garden Sides and Salads

Still pulling stuff out of the garden?

I find that I still have tons of produce that needs to either be canned or eaten ASAP.  Here are some more of my favorite recipes to help that along...

1. Green Bean Tomato Salad
Ingredients:
1 pound green beans
1 pound cherry or grape tomatoes
1 large shallot
2 T red wine vinegar
salt and pepper to taste
1/3 C EV olive oil

Directions:
1. Clean and cut beans.  Parboil for 4 minutes in salted water.  Drain and spread to cool.
2. Clean and half/quarter tomatoes.
3. Make vinaigrette -peel and mince shallot, add to vinegar, salt, and pepper.  Whisk in oil.
4. Store separately.  Mix just before serving.
5. Garnish with fresh herbs (basil, parsley, etc.)
2. Dilly Cucumber Salad
Ingredients:
1 large English cucumber, sliced thin
1 1/2 T EV olive oil
2 T red wine vinegar
1/2 tsp sea salt
1/2 - 3/4 tsp sugar or honey to taste
1/4 C chopped dill

Directions:
1. Mix all ingredients, except cucumbers.
2. Store until ready to serve, mix in cucumbers.


3. Apple and Celery Salad
Ingredients:
4 large apples, peeled and diced
2 C celery, cut small
1/2 C mayonnaise
1 tsp Dijon mustard
1 clove garlic, pressed
1 1/2 tsp lemon juice
1 1/2 T water to thin
salt and pepper to taste
Directions:
1. Mix dressing
2. Combine over prepared apples and celery.


Thursday, September 6, 2012

S'moreful September: S'mores Cupcakes

I'm not going to lie, this is the recipe I was waiting for.  It was the whole reason that I decided to celebrate National S'mores Day, and the reason that I will probably continue to celebrate every year after this one.

I do love this recipe from start to finish, and (as you well know) any time that I can use a box mix while creating a full recipe, it's a good day.  There's something about saving those middle steps that really appeals to me, especially when I know I love that particular brand or flavor.
Ingredients (bottom/crust layer):
1 1/2 C finely crushed graham crackers
1/4 C sugar
5T unsalted butter
2 oz bittersweet chocolate, finely chopped
about 200 mini marshmallows (less than half a bag)


Directions (bottom/crust layer):
1. Preheat oven to 350 degrees and line 24 muffin tins with paper liners.
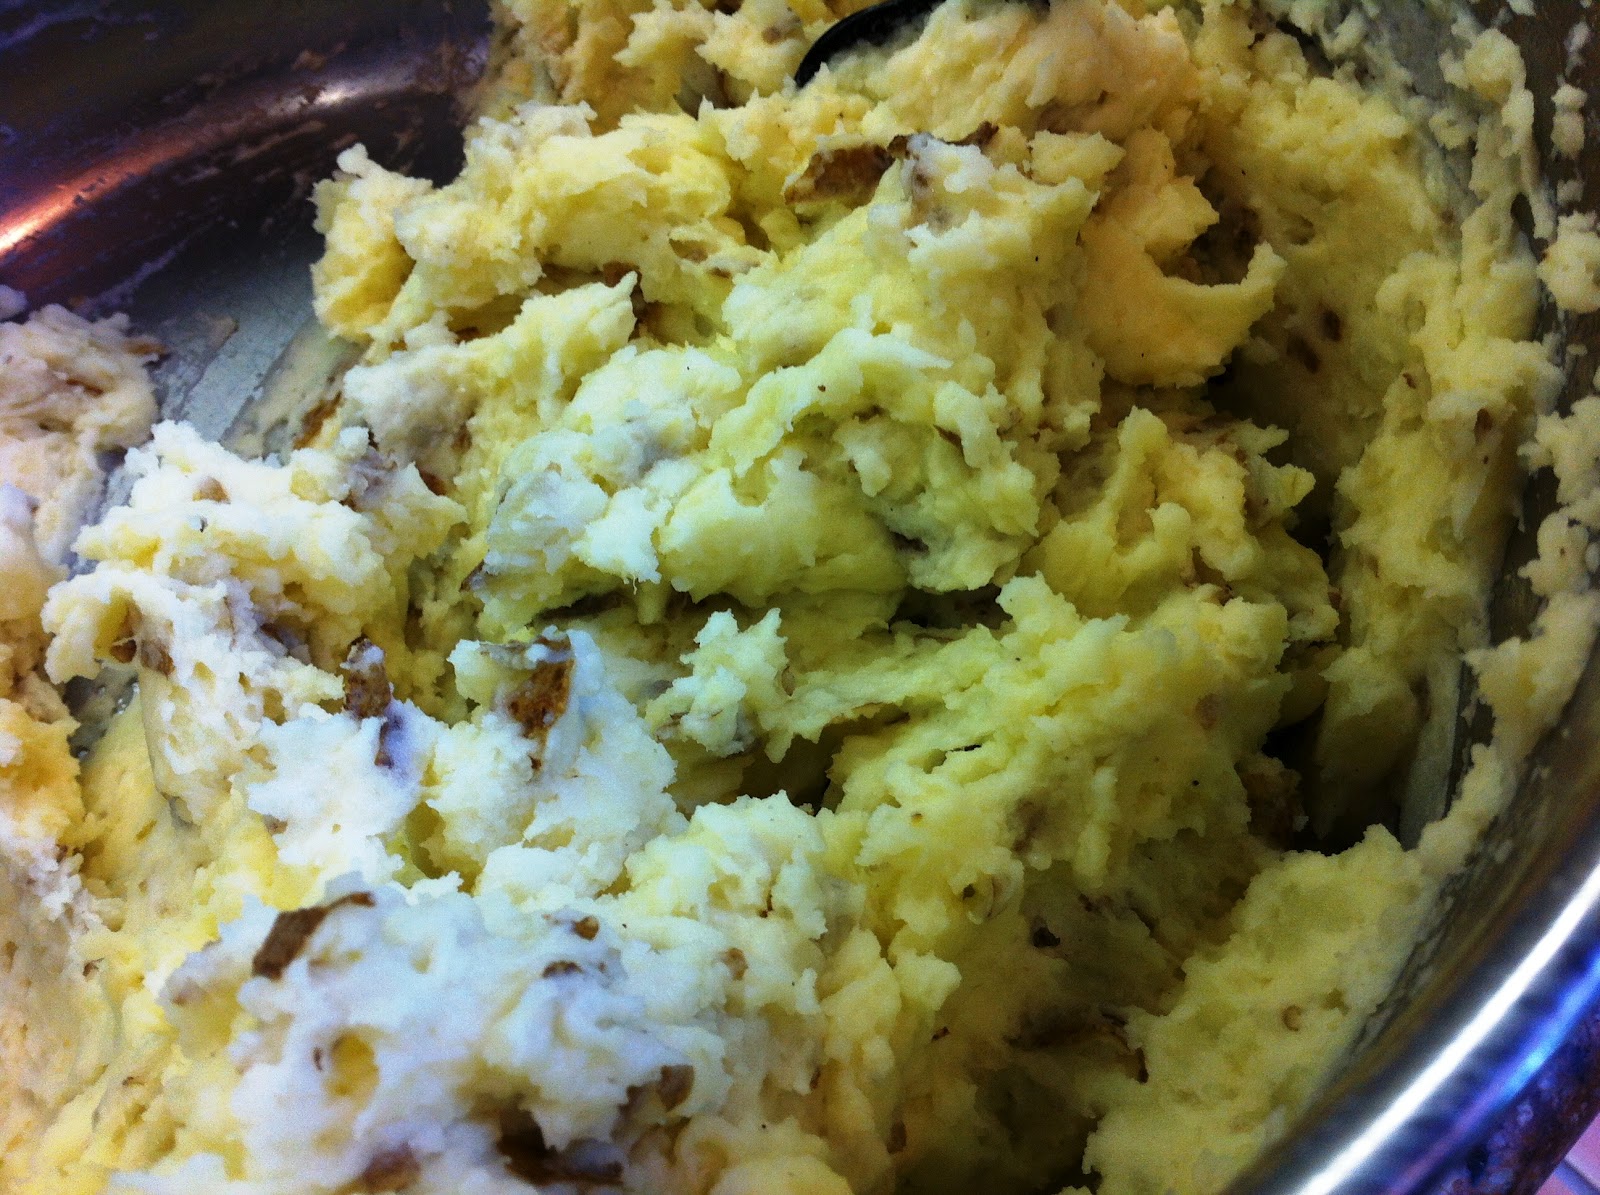
2. Mix graham crumbs and sugar in a microwave safe bowl.  Top with butter and microwave until melted.  Stir well to mix the butter throughout.
3. Place about 1 T of crumb mixture into each muffin cup, and press down (I used the bottom of a cup).
4. Bake for 5 minutes.  Remove then top with a tsp (or so) of chocolate pieces and 4-7 mini marshmallows.

Ingredients (cupcake layer):
1 box of favorite chocolate cake mix
all related ingredients for cake mix (eggs, oil, water, etc.)

Directions (cupcake layer):
1. Mix all necessary ingredients for box mix.
2. Add to top of bottom crust layer in each paper muffin cup.
3. Bake according to box mix directions, but watch closely as it goes a little more quickly.  Remove and let cool.

The frosting was so heavy it broke our cheap hand mixer!
Ingredients (frosting layer):
1/4 C butter, softened
1 jar (7oz) marshmallow creme
1 tsp vanilla
16 oz powdered sugar (or less)
1-2 T milk

Directions (frosting layer): ***
1. Hand/machine mix butter, marshmallow creme, and vanilla until well blended.
2. Gradually add sugar, beating after each addition until well blended.
3. Add in 1 T of milk and blend.  Add more milk, if necessary, for desired consistency
4. Top your cooled cupcakes with the frosting.
5. Lightly brown in broiler or with kitchen torch.

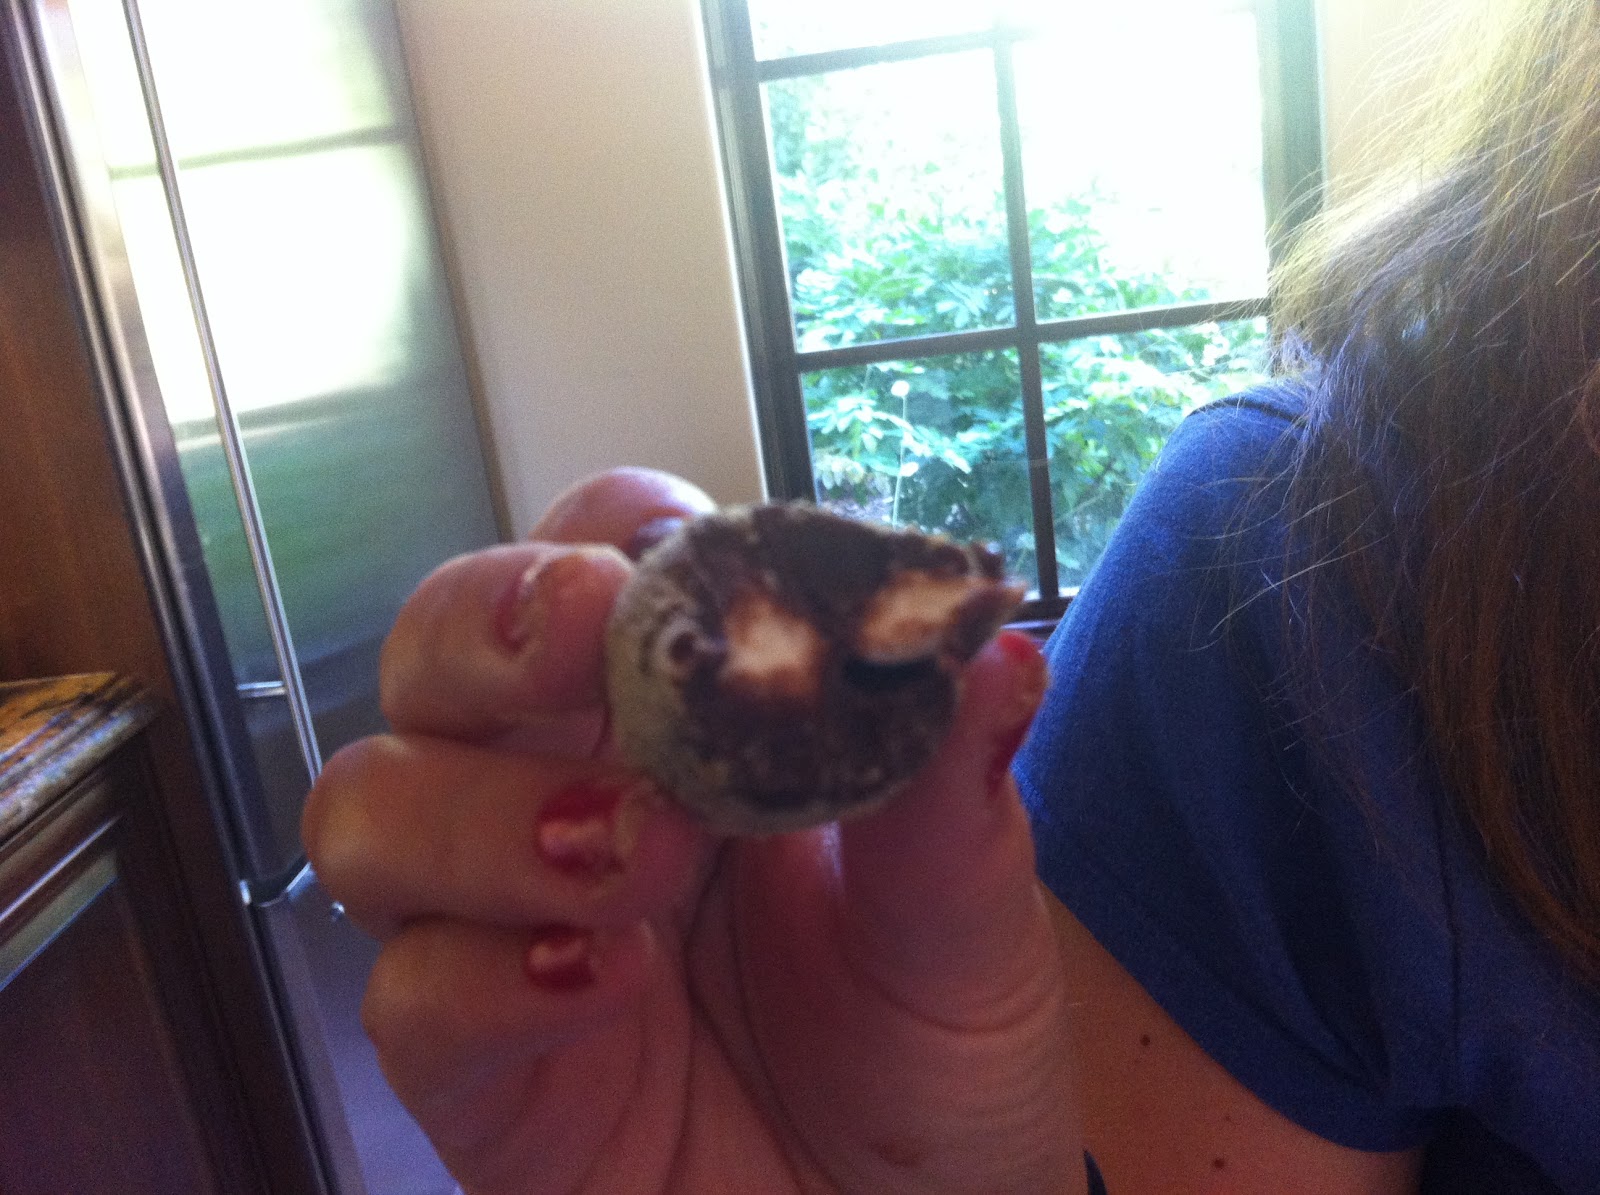
So, as you see, the frosting and I didn't get along.  If you look here, the frosting was supposed to be pipe-able.  Yeah, that totally didn't work, and trying to lightly brown it made it even worse!  The cupcakes tasted amazing, but I blew out a hand mixer on the frosting and it went down hill from there.  Hand mixing the heavy marshmallow frosting was very difficult (as my hand mixer obviously doth protest too much) and it didn't firm up as needed.  In the end, sure, it looked like a melted slice of provolone, but it tasted amazing.  Next year, I'll have to play with it to see how it goes.
My assistant thought this was a good form of 'decorating'.

Sigh. Well, it was a great S'moreful beginning to this September, and I had a blast with National S'mores Day.  And?  The greatest part about Pinterest?  There are a ton more s'more recipes to be had for next year.

Score!

Wednesday, September 5, 2012

S'moreful September: S'mores Truffles

I was very dubious of this recipe.  In fact, I might still tweak it, if given the opportunity to make it again.  I'll let you be the judge, but I think that A) this recipe doesn't make enough truffles and B) there should be a way to put a large marshmallow in there, even if it's cut in half.  Marshmallows make the s'mores, in my opinion.

That being said, these do taste really great, and if you're up for rolling truffles, you should definitely give this recipe a try!

Ingredients:
2 T unsalted butter
1/2 C heavy cream
2 C milk chocolate chips
24+ mini marshmallows
1 C finely crushed graham crackers


Directions:
1. Melt butter in a medium sized pan over medium heat; whisk in cream and bring to a boil.
2. Remove pan from heat, and stir in chocolate chips until melted smooth.
3. Chill pan in fridge for at least 1 hour.  (My fridge wasn't a fan and it took nearly 2 hours.)
4. Roll 24 mini truffles, stuffing at least 1 mini marshmallow into the center of each.
5. Roll truffles in graham crumbs, then place back in the fridge to chill until serving.


Tuesday, September 4, 2012

S'moreful September: S'mores Cracker Candy

Here's something that I hadn't expected to do, but when you've got the ingredients, and you're looking to experiment, what else would you recommend?

This treat is not a candy, as such, but there's really not a better way to describe it.

Ingredients:
12 full sheets of graham crackers
3/4 C butter
3/4 C brown sugar
3 C mini marshmallows
4 Hershey bars, broken into pieces
1 C milk chocolate chips
Non-stick spray

Directions:
1. Preheat oven to 350, and line a jelly roll pan (or 9"x13" pan) with aluminum foil, leaving at least one inch around the edges to help you lift up the candy later.  Spray the foil with non-stick spray.
2. Arrange half pieces of graham crackers on the foil so that the sides are touching.
3. In a medium sauce pan, melt the butter and brown sugar over medium heat, stirring constantly, until smooth. Bring mixture just to a boil.
4. Remove from heat and pour evenly over crackers.  Use a spatula to gently spread as necessary.
5. Bake in the oven at least 5 minutes, or until bubbly.
6. Remove pan from oven and sprinkle, marshmallows, chocolate chips, and chocolate pieces over the crackers.
7. Place back int he oven for another 2-3 minutes until the marshmallows soften and fluff up.


You could also kick on the broiler for a minute (or so) to lightly toast the marshmallows.
8. Let the candy cool completely.  Use foil to lift it out, then cut into bars and enjoy!