Showing posts with label ice cream. Show all posts

Wednesday, August 22, 2012

Grown Up Ice Cream Cake

 I've made ice cream cakes before, from ice cream sandwiches.  They're super simple, and everyone loves them.

However, when I saw this recipe, I knew I needed to try it.

Ingredients: (Bottom Layer)
Your favorite brownie mix and its ingredients
Andes Candies (or their baking chips)

Directions:(bottom layer)
Mix as the box directs, adding about 1/2 bag of Andes to the mix. (or chop about 15 Andes candies)
Bake at the appropriate temperature, but use a 9x13 pan so you get a thin layer of brownie.
This will take about half of the time that an 8x8 or 9x9 would take, so make sure you watch your brownies.
*A little underdone is best, so you get a fudgy layer in your cake.*
Let completely cool in the freezer.
 Ingredients: (Ice Cream Layer)
1.5 quart of mint chocolate chip ice cream
Directions:(ice cream layer) 
Completely soften ice cream until it can be stirred with a spoon without resistance.
Spread ice cream evenly over brownie layer.
Put back into the freezer to re-harden.

 Ingredients: (Ganache Layer)
1 C dark/semi-sweet chocolate chips
1/2 C heavy cream
1/4-1/2 tsp mint/peppermint extract
15-20 Oreos, crushed
Directions: (Ganache Layer)
Combine chips and cream in microwave safe container.
Heat until soft

Whisk smooth, adding in the mint extract to taste.
Let cool to room temperature.
Spread over ice cream layer.  Add crushed Oreos across the entire layer.
Place back in freezer.
Ingredients: (Whipped Layer)
8 oz whipped topping, thawed
Green food coloring/gel (optional)
Remaining Andes candies bites (or 15-20 Andes shaved or chopped into pieces)

Directions: (Whipped Layer)
Add a hint of food coloring to the whipped topping. Spread over ganache/Oreo layer.
Sprinkle remaining Andes candies pieces across the top.
Place back in the freezer until ready to serve.

Before serving, it's best to take it out of the freezer to soften for about 5-10 minutes to help with cutting.  As you can see by the above picture, I didn't completely freeze each layer before adding the next one, so it's not as clean and crisp as it could be.

Know what?

Didn't matter.  Still amazing, and my ten guests easily plowed through most of it without issue.

Awesome summer treat, or specialty cake for special occasions.

Thursday, August 16, 2012

Thirsty Thursday: Wendy's Frosties!

 Here's a low fat (but not low calorie) easy copycat recipe for Wendy's Frosties.  The best part about this is that it's three ingredients, you can use anything generic, and within about a half hour (with a good ice cream machine) you can enjoy Frosties with your besties in no time.

Ingredients:
1 tub whipped topping
1 can sweetened, condensed milk
1/2 gallon of chocolate milk
Add all ingredients to a large bowl.

Blend.

Add to your cold ice cream maker (or follow whatever instructions that have come with your maker).

When you hit the right consistency, remove, pour, and serve.

My machine could only hold 1/2 batch at a time, but I do have two drums, so I just did them back to back and froze the second batch for later.

Super simple, and super amazing!


Tuesday, December 6, 2011

Apple Crisp

It's fall/winter here in Southern California.  Most don't notice, and those from back home might think it's summer.  However, there's a nip in the air most mornings and evenings, and I'm still on a baking kick like you wouldn't believe.  I do love all things apple, but (surprisingly?) I have never made an apple crisp.  I've tried apple pie before, but never it's easy cousin the crisp.  Plus, nothing makes a crisp quite like some ice cream on top, so you better believe I was up for this challenge!

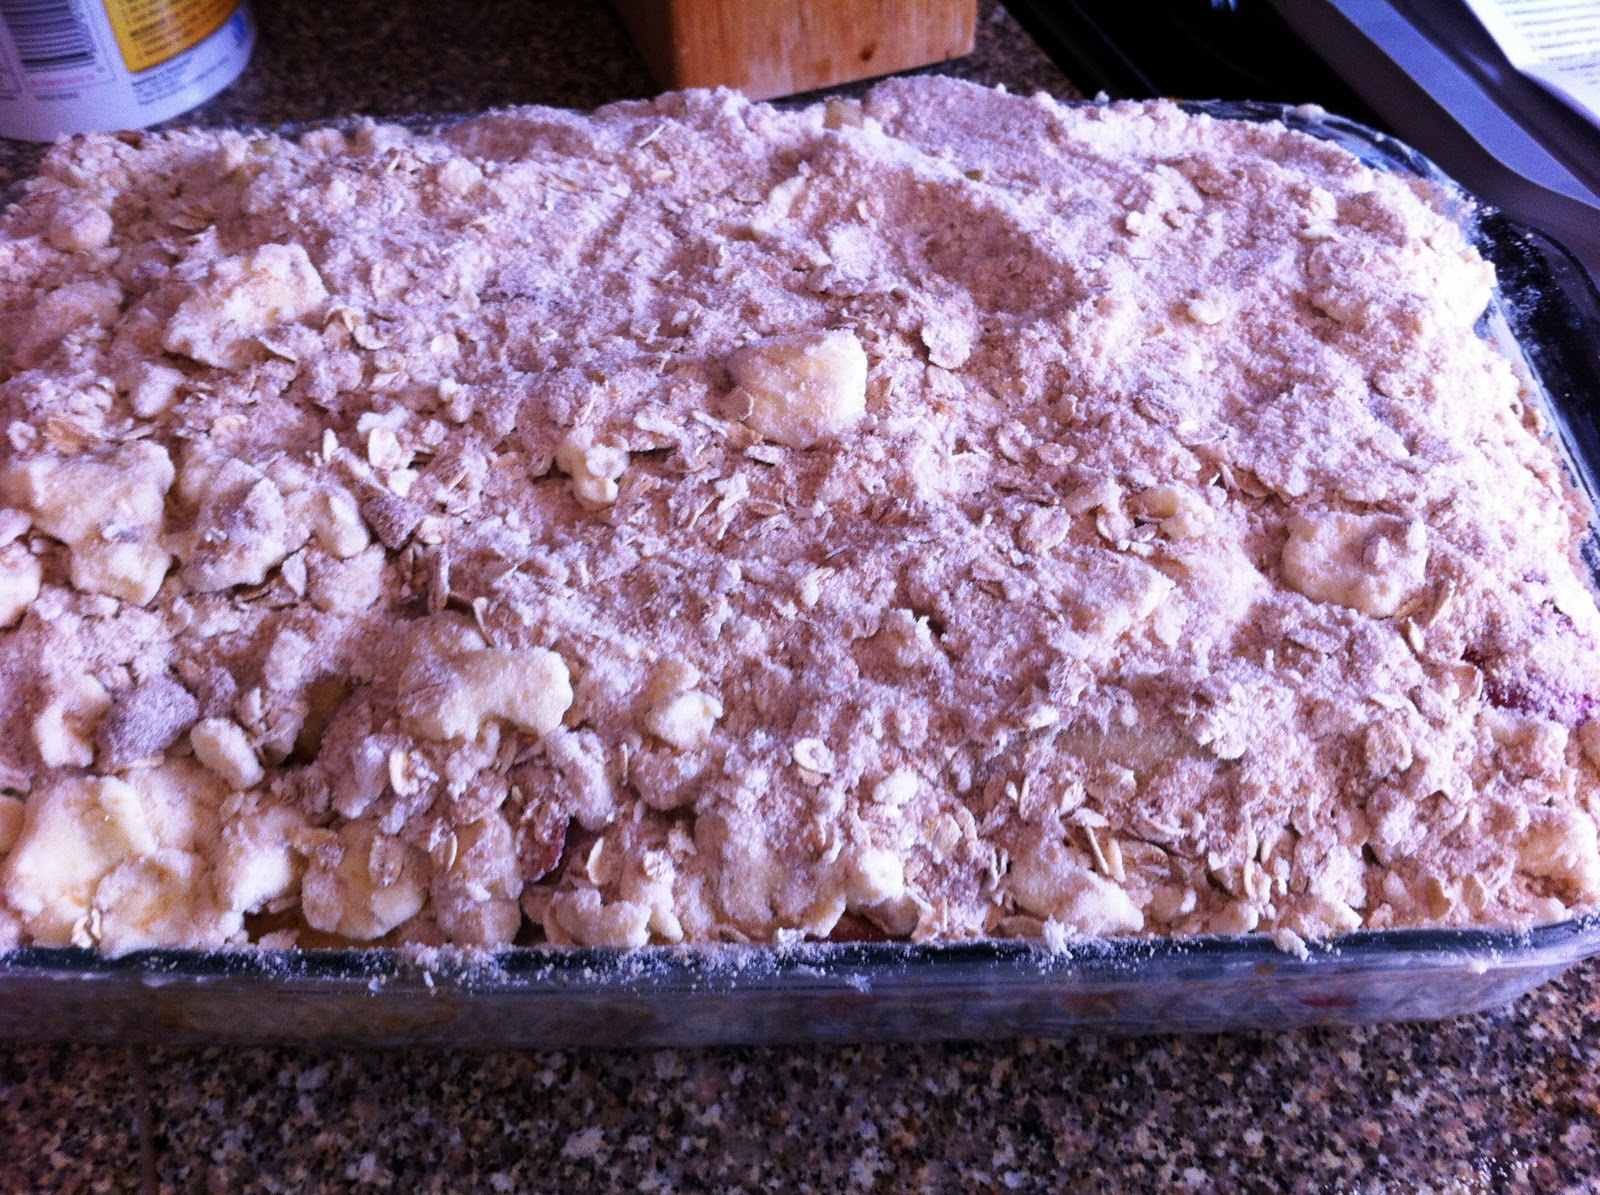
The first person I turned to when looking for a great recipe was my doppelganger, Ina Garten.  Laugh, but people are always asking if we're related, or they are doing a double take.  I don't always see it, but I get the similarities.  Her recipe can be found here, and I pretty much just stuck to the book on this one, although I did use a 9x13 rectangle instead of an oval...  Just enjoy, mm-kay?
McIntosh Apples, well coated

Squeezing everything into and on top of the dish!

Bake it up

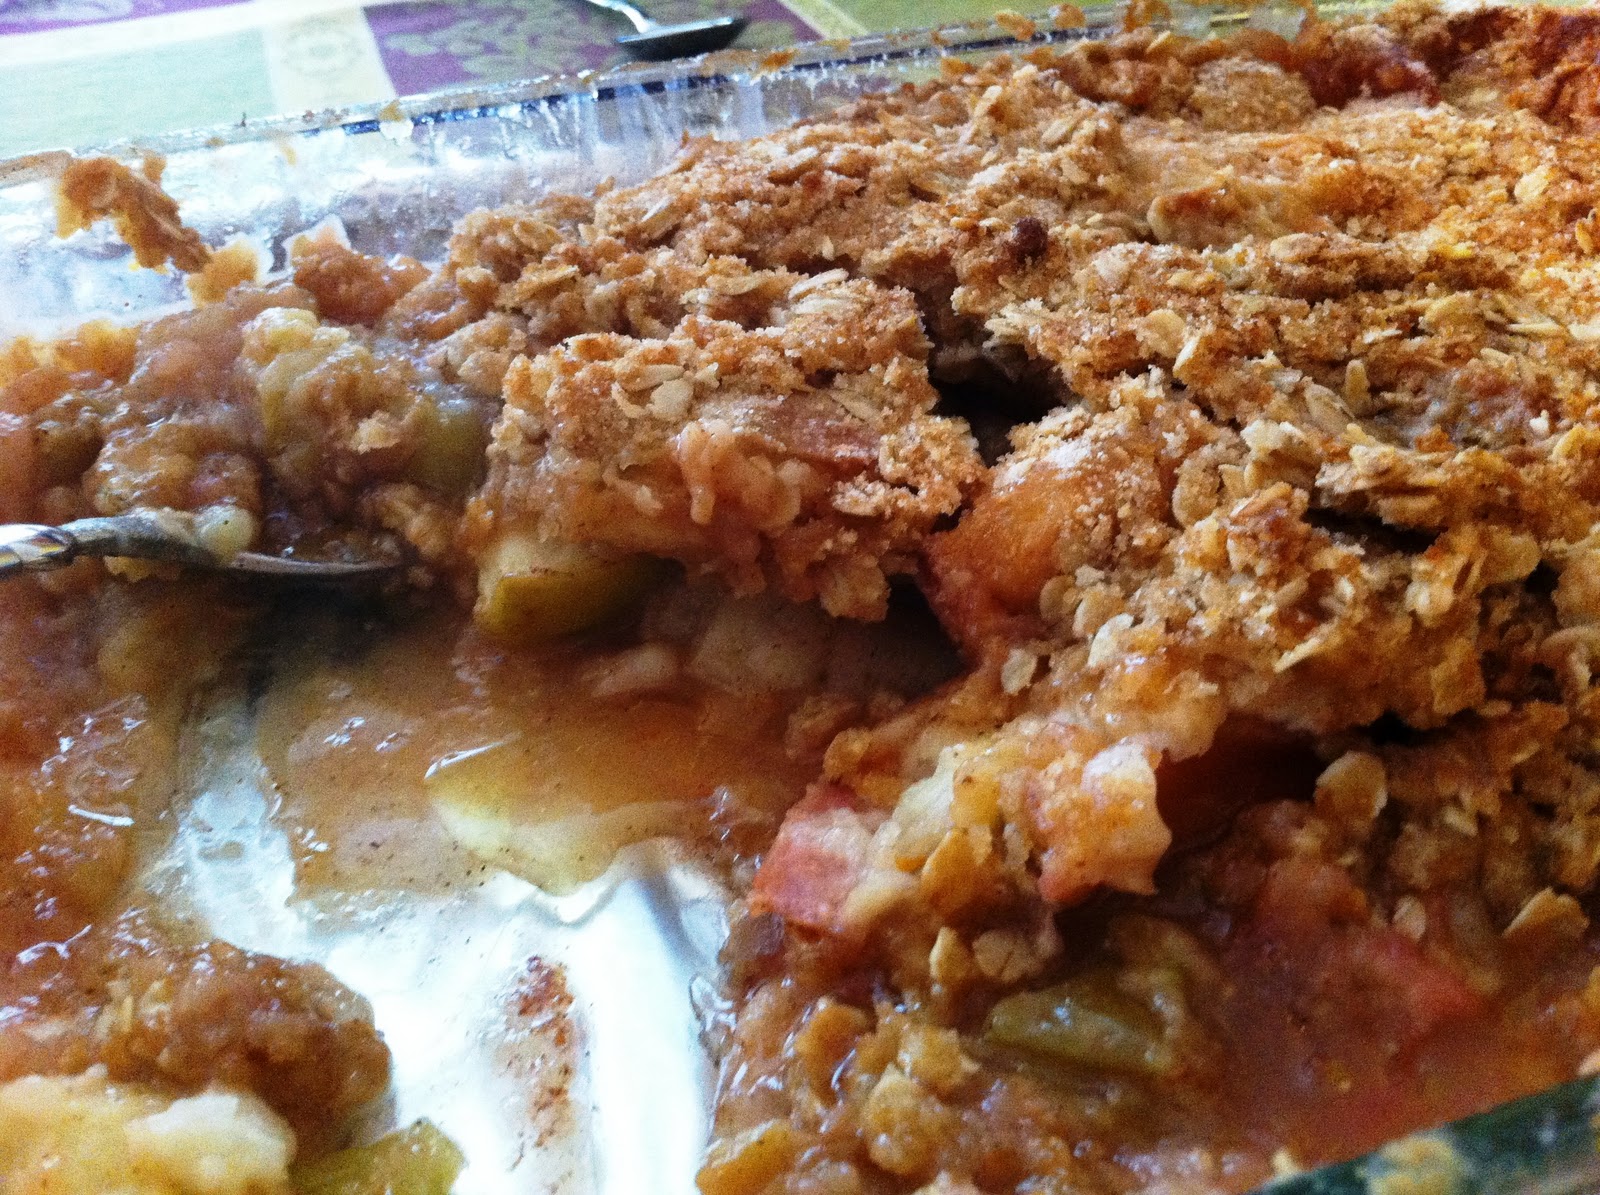
Letting it rest a bit.  I might have added more oats to make a thicker topping.  SO GOOD!

I didn't peel the apples beforehand, so you'll see some skin in there.  Didn't make a difference to me.

AH-mazing.  I'll definitely make this one again!

Saturday, October 1, 2011

A Taste of Sweetness Saturday

Okay, so we all know it's the end of summer, right?

Well, the end of summer doesn't really exist in Southern California.  So, while all of my friends back home are making chili, soup, and fresh baked breads, I'm still in my 70* temperatures.  Rough life, right?

Add on to that the Santa Anas that make our October hotter than our July, plus a couple of wild fires, and you'd be ready for ice cream, too!!


Peach and Pecan Ice Cream Recipe

So once again, first we cook it out the stove top.

Okay, so I read through the recipe.

kind of


I seemed to have missed the section where this has to be in the fridge for 8-24 hours before you can even process it.

This is even worse than the last recipe!!!


So, we processed it and forgot about it until after work the next day...

Now, my local Fresh and easy didn't have pecans for me to toast, so I just used a package of candied pecans. Not as many as the recipe called for, but it still was an easy add that got the flavor going.

It worked well for this recipe, even though Thomas protested not having a chocolate ice cream again.

I thought two chocolates in a row would be overkill.

He disagreed.  I stand corrected.
Still yummy, just not chocolate.

Saturday, September 24, 2011

A Taste of (Chocolate-y) Sweetness Saturday!

Ta-daa!!  My mama apparently loves us quite a bit.  This awesome Cuisinart ice cream maker arrived in the mail last month, and Thomas and I have been chomping at the bit to use it.  It came in two pieces - first the freezer containers and then the actual machine.  By the time the machine came, we were more than ready to go!!

Since Thomas is a baptized confirmed choc-o-holic, of course the first recipe I would look for would be a Very Chocolate Ice Cream recipe!!
One of the oddest things I found out about ice cream recipes?  If you want it to be a creamy, custard like texture, you need to cook it.

Which means it gets hot.

Which means you have to cool it off.

For hours.

BEFORE you can start to process it as ice cream.

This is, like, the worst idea since Greedo shooting first!  You can't tell me to make ice cream and then I have to wait FOR HOURS before I can even actually make the ice cream, where I have to wait any way before I can even eat the ice cream.  Ridiculous!
Okay, so you wait, it gets cold, then you can process it in the actual machine.  This is about the time when your choco-crazed loving husband comes home and has bright ideas, like adding Nutella.  And not so bright ideas, like adding almost a whole bag of semi-sweet chocolate chips.  I just left my chips to the side in my bowl, but the Nutella is a definite add in.  Just add it in just before the ice cream is firm enough to take out of the machine and into your freezer safe bowls.  It's completely worth it!!
jealous?!

Saturday, July 23, 2011

A sneak peak dessert!

Shhh...  don't tell anyone this, but this recipe hasn't even been "released" yet!  Oh sure, it's out there, and it has been published, but it hasn't been officially published yet, so you're getting a sneak peak at a new Pampered Chef recipe from the new fall line up of goods!  Because of that, I'll actually post the recipe here.  I tried finding it elsewhere online, and it's not as easy as it looks. 

So... without further ado... Let me introduce to you, the...

Microwave Rocky Road Brownie Dessert!!!
Ingredients:
1 cup walnut halves, toasted (I subbed 1/2 cup of chopped pecans)
3/4 cup all-purpose flour
1 1/2 tsp baking powder
1/4 tsp salt
3/4 cup butter
4 oz unsweetened chocolate
1 1/2 cups sugar
3 eggs
16 large marshmallows (cut in half)
20 milk chocolate kisses, unwrapped
Vanilla Bean ice cream (optional, but not really!)

(Yep.  It really is as great as it sounds.)

First, you coursely chop your nuts, if you didn't buy them already chopped. 
Next, combine flour, baking powder, and salt in a small bowl, set aside.
Cutter butter into pieces, and chop the unsweetened chocolate.  Place butter and chocolate in microwave, uncovered, on high for 1 - 2 minutes or until mostly melted, stirring every 30 seconds.


Add sugar and eggs to the chocolate mixture; whisk until smooth.  Fold in flour mixture and 1/2 of the nuts until incorporated.  Then, pour your batter into your Deep Covered Baker, spreading evenly.  Microwave, uncovered, on high for 5 - 7 minutes, or until a toothpick comes out clean from the center.  Use oven mitts to remove your baker from the microwave.


After that, top your brownies with your halved marshmallows, the chocolate kisses, and the last 1/2 of your nuts.  Microwave, covered this time, on high for 1 - 2 minutes, or until the marshmallows start to soften.  Remove baker from microwave.


Let dish stand for 5 minutes, covered.  Then, spoon onto plates and serve with ice cream.  It will be well worth the 15 minutes (tops) it took to make!!


I've gotten a great deal of compliments on this already, so if I were you, I'd get out there while the recipe was still young and impress your friends.


Enjoy!


So good, even down to the last drop!!