Tuesday, December 13, 2011

Brunch Squares

Any recipe that starts with bacon must be amazing!


Okay, today is another trip down to the brunch-tastic vault.  I can’t help that I’m not always original, but I can help that what I choose to place on my table is delicious, and almost always a crowd pleaser!  Today, we’re also looking at a Pampered Chef recipe for Brunch Squares.  No worries if you can’t read a pdf file, I’m here to give it away for free!


First off, of course, The Ingredients:

1 teaspoon vegetable oil
2 cups (8 ounces) grated Colby & Monterey Jack cheese blend, divided
1 package (22.5 ounces) frozen hash brown patties, thawed (10 patties)
8 ounces cream cheese, softened
12 eggs
½ teaspoon coarsely ground black pepper (plus more, optionally)


  8 ounces thickly sliced deli ham (or 1 lb of bacon, cooked and diced)
 4-5 green onions with tops, divided (1 cup sliced)
 3 plum tomatoes (seeded and diced)

First, brush your stoneware bar pan with olive oil to ensure that it’s well seasoned.  You’d hate to have any of this stick behind while serving it up.  Next, crumble your hash brown patties into a single layer on the bottom of the pan.  Usually, I’m a wimp and my fingers freeze during this process, so I dice them with a handy dandy knife and then press them down once they’re in the pan.  Next, top with half of the required cheese; I buy pre-shredded cheese, but you could just grate your own, too.  Bake at 450 for 13-15 minutes, or until the edges are browned and the cheese is melted.

While that’s baking, whip the cream cheese until smooth, then gradually add in the eggs, and black pepper, whisking until smooth again.  I use a hand mixer to speed up the process, but it’s your call.  Then, add in ¾ C of your sliced green onions and your bacon (or ham) to the mixture.  It’s only there for a minute or two, so no worries, I promise.

When the hash browns are ready, remove from oven and let them cool while you’re finishing prepping.  If you’re ready, then go ahead and add your egg/cheese/bacon/onion mix on top.  Use a spatula to make sure everything is evenly spread, and then pop the tray back into the oven for 6-8 minutes.  This time, make sure the egg is set in the center and that the top looks like a cooked egg.  Sounds odd, but color helps!

Remove the pan, top with remaining green onions (1/4 cup), diced tomatoes, and cheese (4oz).  I then return it to the oven for about 2 minutes to heat through and melt the top layer of cheese.  Finally, remove it, cut it, and serve immediately.  Your guests will thank you for it.  While there is a bit of prep, and a lot of little steps to this recipe, it truly is easy, and so good.  It’s everything that makes a breakfast great, and you should give it a try when expecting a few for breakfast.  This makes 12 servings, but depending on your crowd, it’ll comfortably feed 8-10.

I'm not even a tomato fan and I find these delicious!!

Saturday, December 10, 2011

Taste of Sweetness Saturday: Chocolate Crinkles

Truth?  I've never made truffles.  There's something about the chocolate gooey experience that doesn't appeal to me.  I liken it to making meatloaf: it's something that I enjoy but don't want to touch in the unfinished stages.  Sure, you can call me a wimp, but it doesn't change anything about the way I'm feeling!!

Well, I thought I'd try to make Chocolate Crinkles last year, not realizing how truffle-like they really were.  It's a recipe that takes time, you get extremely chocolatey, and you produce very few cookies for the effort.

Worth it?  Absolutely.  Especially if you know, or are married to, a chocolate lover like I am.  The recipe I followed can be found here.  It claims to make 3 dozen, but I was pressed to make two, and they're small any way.  Regardless, give them a try.  They really are a taste of sweetness.

Now, this year?  Have I mentioned my party for 200 at work called Cookies with Santa??  We're in the midst of making 64+ dozen cookies for the event.  I wanted to make something similar to crinkles, but I was hoping for something a bit less...messy.  Luckily, now I have assistants that can do the work that bothers me, and I can just reap the rewards!

This year, I decided to turn to the Brown Eyed Baker.  A cousin of a college friend who has served as my inspiration a few times in the kitchen.  If she can come up with Irish Car Bomb cupcakes, she has my vote of confidence!  So, I picked her Better Than Brownies Chocolate Cookies and they are amazing!  The only thing I took from my Crinkles recipe was to roll the cookies in powdered sugar before baking them.  They look almost the same, but the recipe makes a ton, they grow exponentially in the oven, and they are sinfully heaven.

Truth? You could choose either recipe for a decadent chocolate cookie.  They're both awesome.  However, I think the Better Than Brownies are easier, and I like that the decadence is just as great as the crinkles.  Give them both a try.  You won't regret either, I swear!
I cooked them on parchment to ensure they wouldn't stick.  I didn't want to use any grease on these.
Worked like a charm!

Thursday, December 8, 2011

French Toast Strata

The yolk's on you!!  (I doubled the recipe...)

Today’s feature: the dream breakfast or brunch entrĂ©e.  It’s hard to believe that there could be an item (or two) that people request over and over again for breakfast, but this is one of my mama’s recipes, which always ensures that it is spectacular (SPECTACULAR!), and that it’s reliable even for an okay baker like me.  I’ve talked about this before (because it is brunch-tastic), but here’s the secret family recipe…

French Toast Strata

Ingredients:
1 lb loaf of unsliced French bread
8 eggs
6 T butter, melted
8 oz. of cream cheese, cubed
2 and ½  C milk or half and half
¼ C maple syrup (plus more to serve)

Easy ingredients, right?  Even easier directions…

Cut the French bread into 1” cubes (makes about 12 cups).  Then, grease a 3 quart baking dish.  I like to coat it with butter (of course), but you could use a spray.  Place half of your bread cubes into the dish, then top with your cream cheese cubes.  Top off with your remaining bread cubes. 


Next, combine your eggs, milk, melted butter, and maple syrup in a bowl and mix well with a hand mixer or blender.  I like to fluff it up on high, but just make sure that it’s well combined.  Pour the mixture over your cubes. 

Use a spatula to slightly press down all the layers to make sure everything is well moistened.  (Ew.  I hate that word.  Do it just the same.)  

Cover with plastic wrap and refrigerate for at least two hours, but you can go up to 24 if you’re really well prepared.

That morning, removed the plastic wrap and bake at 325 for 35-40 minutes.  I like to broil for the last minute or so to crisp up the top, but that’s a personal preference.   Just bake until the center sets and your edges are lightly golden.  Let stand for about 10 minutes, then serve it up with warm maple syrup.

I promise that this is a winner every time.  It’s the perfect combination of French toast with cream cheese, and it is so easy that you won’t mind making it every time someone requests it (because you really love eating it, too!).

Seconds, please!


Tuesday, December 6, 2011

Apple Crisp

It's fall/winter here in Southern California.  Most don't notice, and those from back home might think it's summer.  However, there's a nip in the air most mornings and evenings, and I'm still on a baking kick like you wouldn't believe.  I do love all things apple, but (surprisingly?) I have never made an apple crisp.  I've tried apple pie before, but never it's easy cousin the crisp.  Plus, nothing makes a crisp quite like some ice cream on top, so you better believe I was up for this challenge!

The first person I turned to when looking for a great recipe was my doppelganger, Ina Garten.  Laugh, but people are always asking if we're related, or they are doing a double take.  I don't always see it, but I get the similarities.  Her recipe can be found here, and I pretty much just stuck to the book on this one, although I did use a 9x13 rectangle instead of an oval...  Just enjoy, mm-kay?
McIntosh Apples, well coated

Squeezing everything into and on top of the dish!

Bake it up

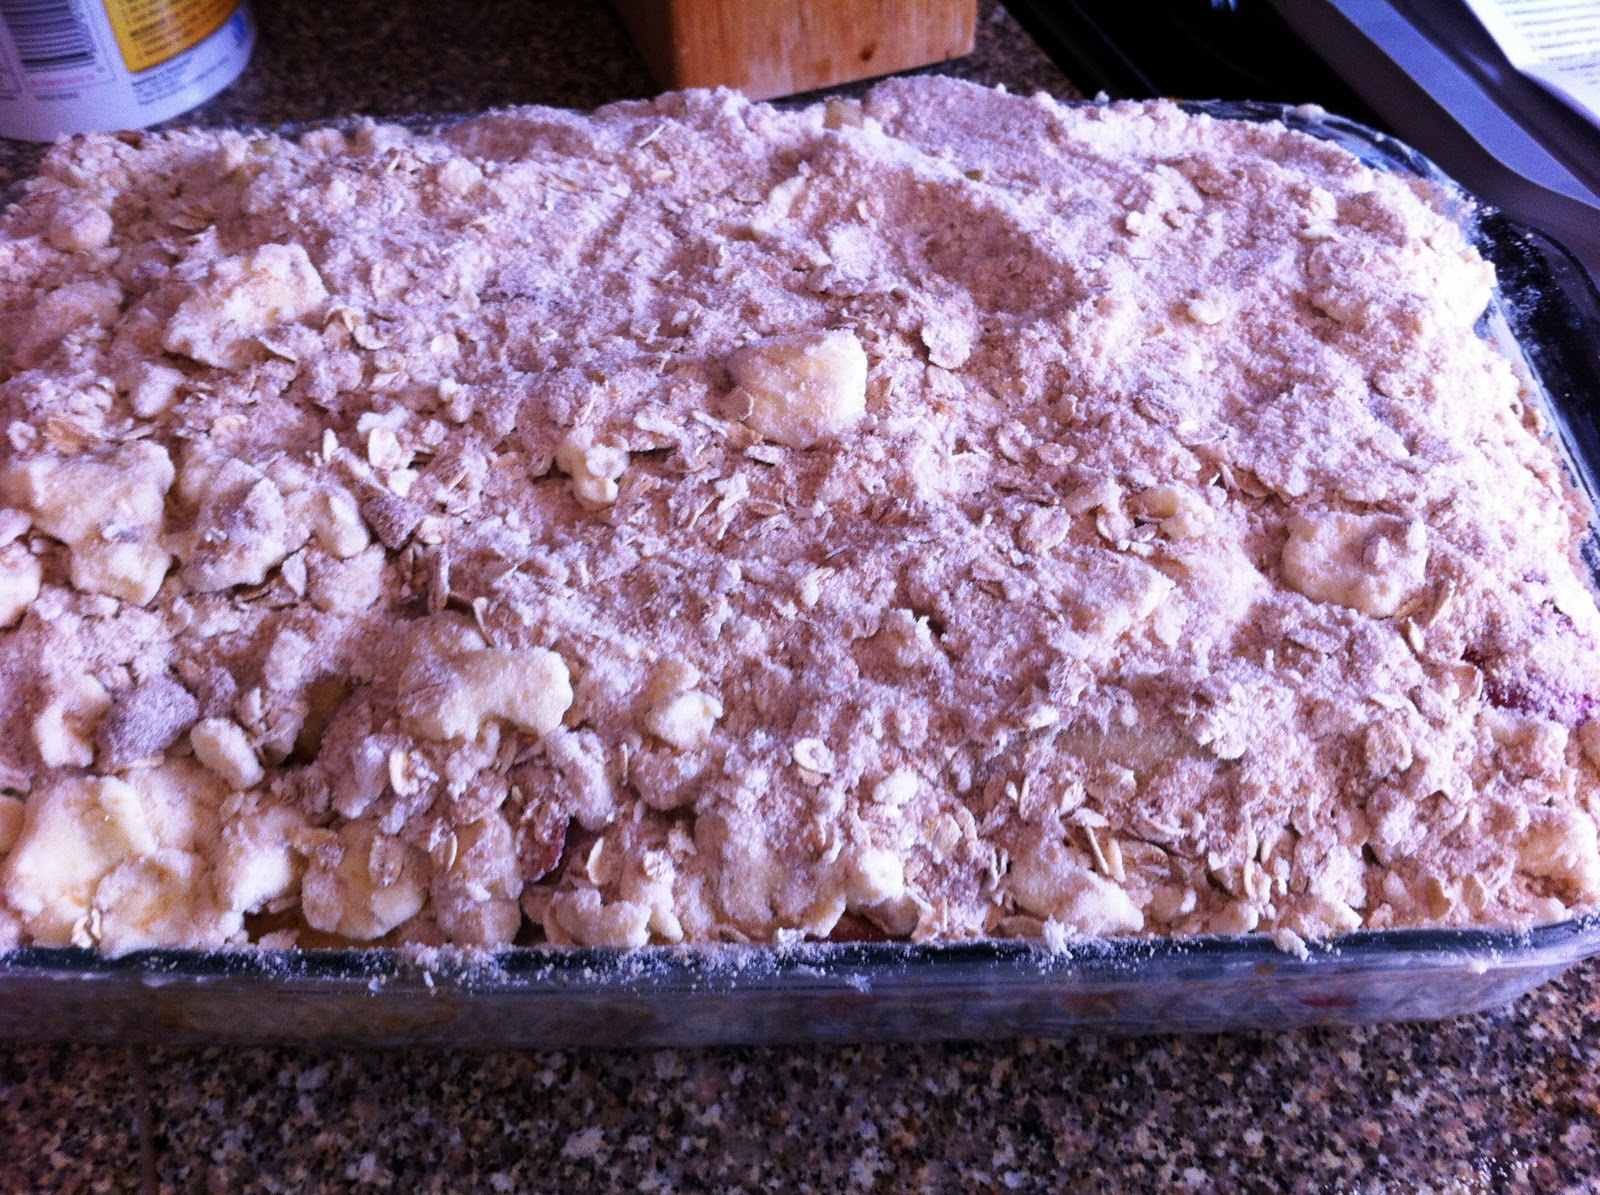
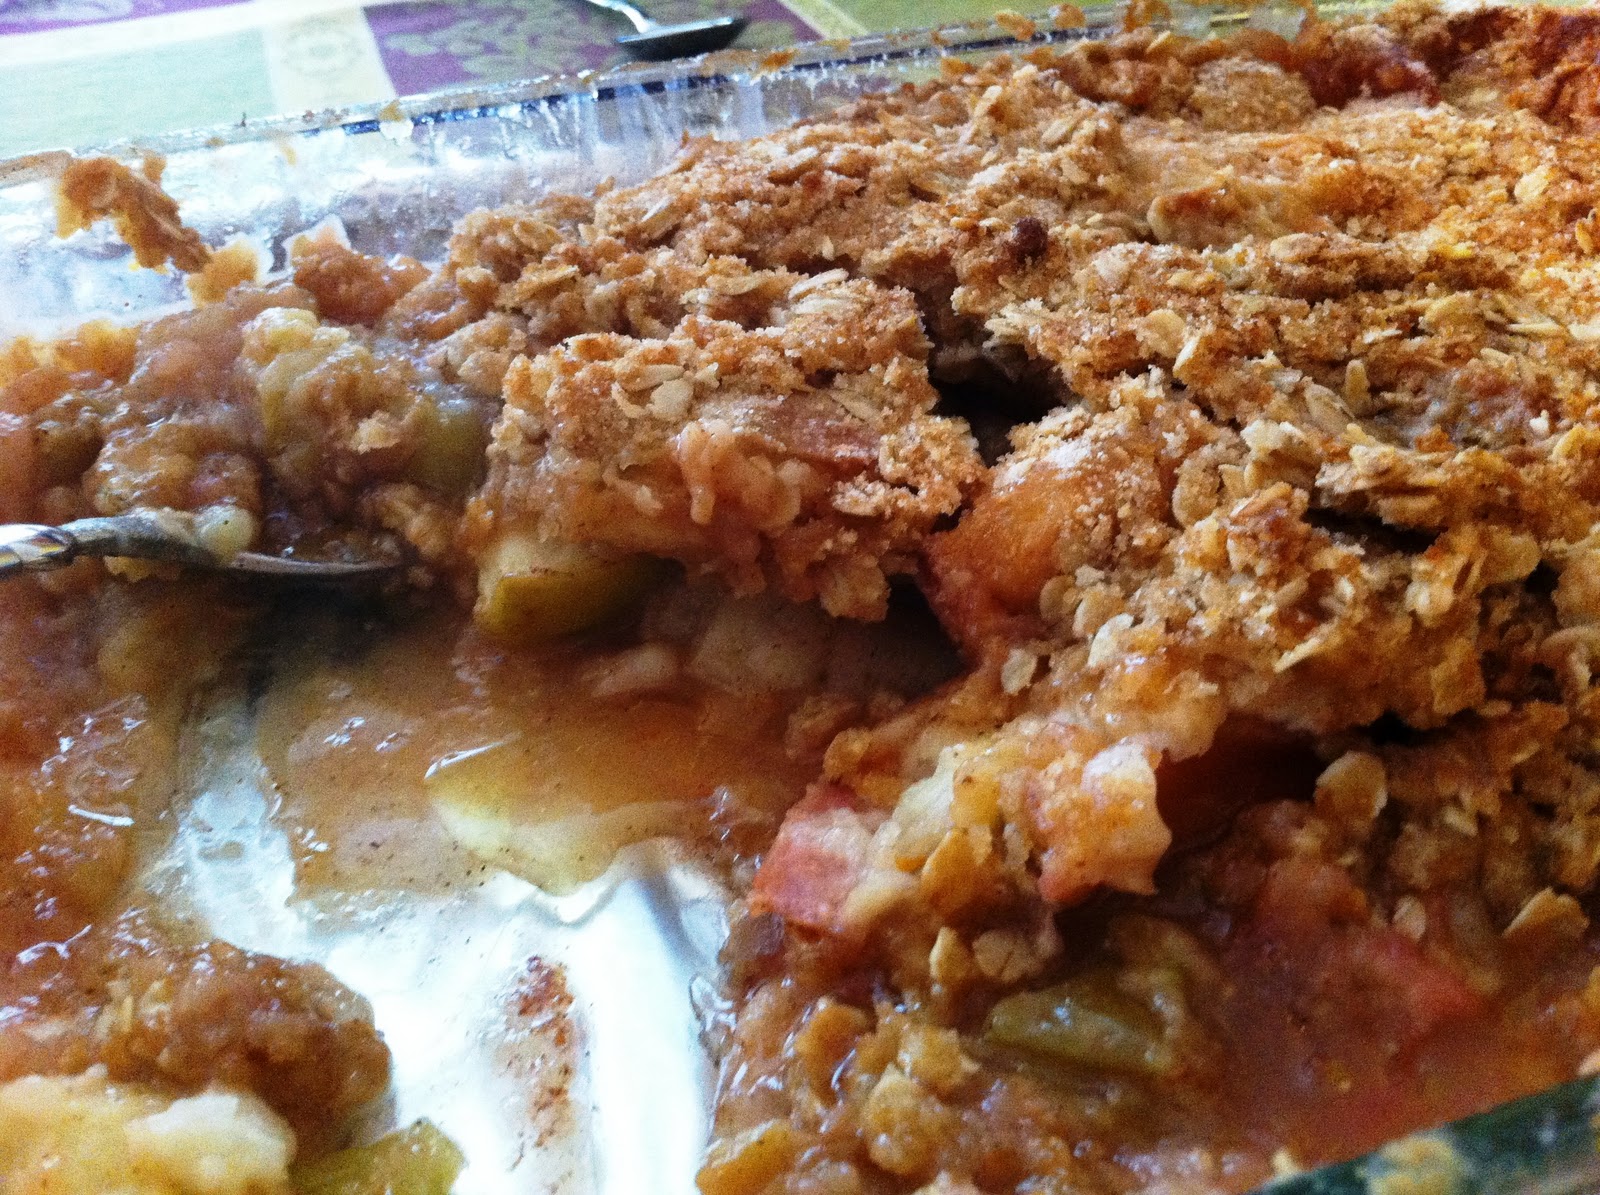
Letting it rest a bit.  I might have added more oats to make a thicker topping.  SO GOOD!

I didn't peel the apples beforehand, so you'll see some skin in there.  Didn't make a difference to me.

AH-mazing.  I'll definitely make this one again!

Sunday, December 4, 2011

Can-Do Attitude: Cabernet Sauvignon Jelly

 This is a combo recipe, taking from Canning for the Next Generation and Blue Ribbon Preserves.  I met them in the middle, so follow quickly because this is an EASY recipe that ANY ONE can do!  Ingredients: 1 Bottle of a dry wine (like Cabernet, Chardonnay, or a Brut Champagne). 1/4 C strained fresh lemon juice, 5C sugar, and 2 liquid pectin packets.

To create: Boil your wine for 25 minutes to help reduce.  Then, add the lemon juice and sugar until it is all dissolved.  Boil for one more minute, then remove from heat, stir in 2 liquid pectin packets completely, then jar quickly.  Follow standard jarring procedure (leave 1/4" head space, add your vacuum seal lids, and process in boiling water for 10 minutes.  This will make about 6 half pint jars.

The final product is a beautifully clear jelly that is sweet, and not at all what you'd expect from a dry wine.  I really don't think you can even taste the wine once it's done.  Thomas expected it to go well on cheese, but it's great on a slice of bread, just like any other fruit-y jelly!

(I also followed this recipe with "Champagne" - brut.  I used only 3 cups of sugar and it was still outstanding!)

Saturday, December 3, 2011

Taste of Sweetness Saturday: English Toffee

So, last year I decided to try a different type of sweetness for my "cookie" boxes that I deliver to co-workers and people whom I am on speaking terms with...  English Toffee!  And, it's not that I've ever thought about making it, but my favorite blogger's rockin' mom posted this recipe last year and it was so comprehensive, with so many great pictures, that I thought I'd give it a shot!


I won't even pretend that I could come close to describing how to do this, so I really suggest you hit up that link and follow her step by step directions.  It worked for me, and I have no patience for such things.  Luckily, Thomas helped and called when it should be pulled off the stove before it was burnt/under cooked at my own discretion.  Check it out, and, as always, enjoy!!

Thursday, December 1, 2011

Chicken Sausage and Butternut Squash "Risotto"

The joy of running a workout facility as part of my daily tasks is that we get a lot of magazines for our gym, and I'm always up on Hollywood gossip, health and fitness articles, and Time magazine.

Fitness Magazine, last month, ran a recipe for Pumpkin and Chicken Sausage "Risotto."  While we don't necessarily do "healthy" around our house, I'm always up for trying a really good new recipe, especially if it looks filling and relatively cheap.

Luckily, the local Fresh and Easy keeps butternut squash in already cubed packages.  I bought 2, 16oz packs because I love extra veg.  Same amount of oil and sage, though, as I mixed it up all together in the bowl.

I couldn't find a "dried sage," but I did get a powdered sage in the spice aisle.  I figure it's still sage, and I still used a heaping amount, as called for in the recipe.  It's mostly for fragrance, right?  I don't know that sage is really great for anything, other than keeping the harmful spirits away.
I piled everything onto a raised edge cookie sheet (lined with foil since I hate cleaning).  I bought two of the apple chicken sausage packages (5 pre-cooked sausages a piece), sliced them into chunks, and loaded them on the bottom and on top of my squash.

Then, we roasted at 375 for 15 minutes.
As the squash and chicken roasted, I started my three cups of broth, 1/4 cup white wine, and 3 cups of quinoa to simmer.  I'm sure I could have used farro, like the recipe called for, but quinoa was at Costco last month, so we'll have enough to last us through January.

I flipped everything in the pan after 15 minutes, and roasted for another 15.  I didn't separate it or anything, just turned it the once and then added in some chopped, flat leaf parsley.  Super simple, no worries.

Once the quinoa had absorbed the liquid (about 15 minutes or so), I mixed in one 5 oz pkg of Parmesano Reggiano cheese shards. This really congealed everything, so I added a bit more white wine so it wasn't so...pasty like.
I put the rest of my flat leaf parsley in here.  I probably only used a third of a cup total, but I split it between my roasted items and the quinoa.  I did this because I skipped the last part of the recipe where it says to mix the grains, veg, and meat together. 

I kept them separate because I liked the look.  They are definitely amazing served together, though, so definitely make them both for the same meal!
Sorry I didn't clean the plate pre-photo.  I was more interested in eating than picturing!!