I know I've talked about this recipe once before, but I found myself making two batches this month, one with peanuts (like a Snickers) and one without (like a Mars Bar).
So, if you ever really wanted to know what's involved in making your own, here's the (less than) skinny on the process.
(And maybe this will be my last set of parentheses!)

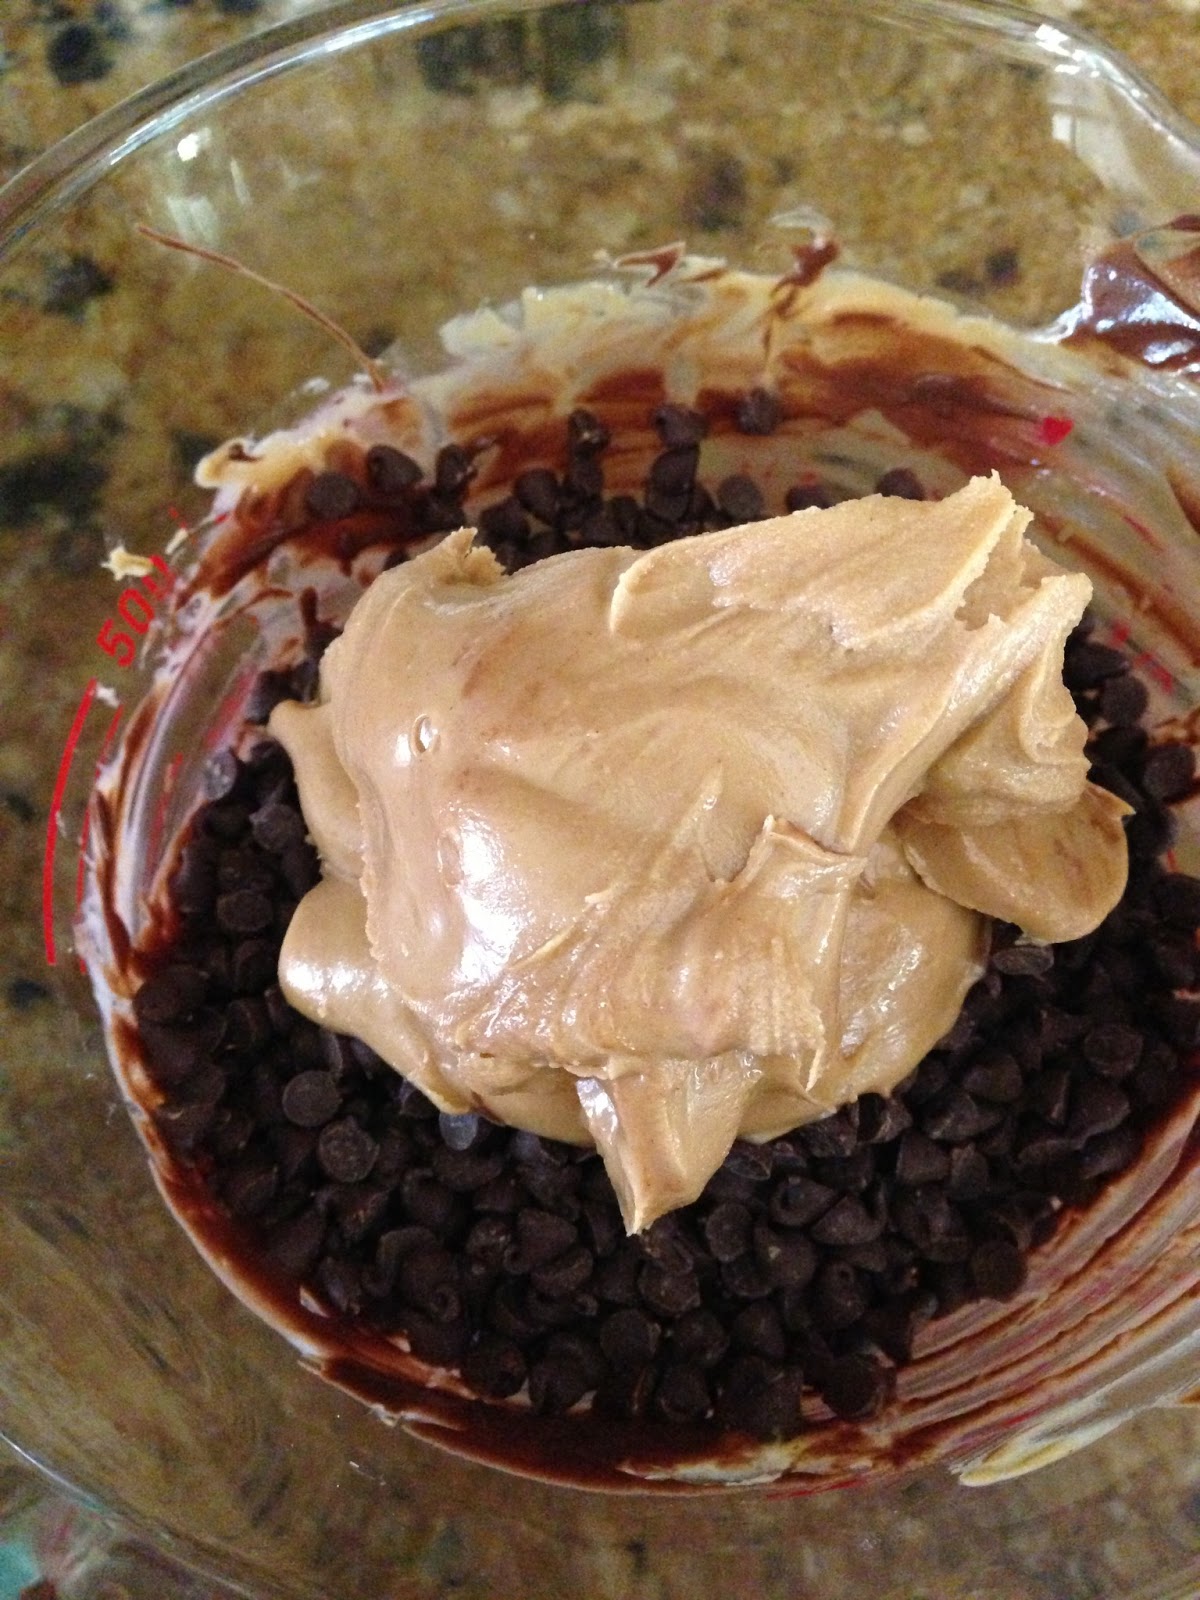
1 1/4 cups milk chocolate chips
1/4 cup peanut butter
Nougat Layer Ingredients:
1/4 cup unsalted butter
1 cup granulated sugar
1/4 cup evaporated milk
1 1/2 cups marshmallow fluff
1/4 cup peanut butter
1 1/2 cup salted peanuts chopped, roughly chopped
1 tsp vanilla extract
 Caramel Layer Ingredients:
1 14-ounce bag of caramels
1/4 cup whipping cream
1 cup granulated sugar
1/4 cup evaporated milk
1 1/2 cups marshmallow fluff
1/4 cup peanut butter
1 1/2 cup salted peanuts chopped, roughly chopped
1 tsp vanilla extract

1 14-ounce bag of caramels
1/4 cup whipping cream
Top Layer Ingredients:
1 1/4 cups milk chocolate chips
1/4 cup peanut butter
1 1/4 cups milk chocolate chips
1/4 cup peanut butter
It's really not a lot, this process just TAKES TIME since every layer needs to cool enough to hold its own before you add another one on top of it. I'd plan on at least an hour per layer, even if you use the fridge, because you really want that pretty set of layers to come out evenly when you're down.
 Directions (Bottom Layer):
1. Buy a 9x13 disposable pan and spray it with a non-stick cooking spray. You really want disposable and you really want to grease it up. Trust me on both. It makes the final steps the easiest.
2. In a microwave safe dish/measuring cup, melt together the bottom layer ingredients over 90 seconds, stopping every 30 seconds to stir, or until completely melted and combined.
3. Spread out melted PB chocolate goo into prepped disposable container, set in fridge to solidify.
Directions (Nougat Layer):
1. Melt butter in your pan over medium heat, then add your sugar and milk and bring to a boil. Stir well so everything dissolves nicely.
2. Cook for about five minutes, still stirring from time to time.
3. Add fluff, PB, and vanilla - keep stirring! Make it smooth.

4. Turn off the heat and fold in the peanuts (for Snickers), or don't (for Mars bar)
5. Pour and spread over cooled and set bottom chocolate layer. Stick that puppy back in the fridge for another hour.
Directions (Caramel Layer):
1. Combine caramels and cream in saucepan over low heat. Stir until smooth (10+ minutes).
2. Pour over nougat and return to fridge for another hour.
Directions (Top Layer):
1. In a microwave safe dish/measuring cup, melt together the bottom layer ingredients over 90 seconds, stopping every 30 seconds to stir, or until completely melted and combined.
3. Spread melted PB chocolate goo on top of other three set layers. Put back in fridge to solidify one final time.
 Directions to Serve:
This is the part where you're really thankful I told you to use a disposable pan...
First, peel back the edges if your pan. You'll see how nicely the layers have set, making it super simple for you to take them out of the pan.
I just flip it upside down and peel off the bottom. The flexibility of the disposable pan helps. If you're super-anti-disposable pan, then try to use a silicon one or something with equal amounts of flex.


Next, take your nicely sharpened knife and cut it up. You can make bars, squares, or whatever your heart desires. I'd store them in the fridge because the chocolate will go soft if you leave it out too long.
When I make a double batch (two 9x13" pans), I can keep them in the fridge for about two weeks and they still taste amazing. I can't vouch for longer than that because they really won't ever last once people have tasted them.
Try it. You'll never want to go back to your standard Snickers/Mars bar again. I promise.


1. Buy a 9x13 disposable pan and spray it with a non-stick cooking spray. You really want disposable and you really want to grease it up. Trust me on both. It makes the final steps the easiest.
2. In a microwave safe dish/measuring cup, melt together the bottom layer ingredients over 90 seconds, stopping every 30 seconds to stir, or until completely melted and combined.
3. Spread out melted PB chocolate goo into prepped disposable container, set in fridge to solidify.
Directions (Nougat Layer):
1. Melt butter in your pan over medium heat, then add your sugar and milk and bring to a boil. Stir well so everything dissolves nicely.
2. Cook for about five minutes, still stirring from time to time.
3. Add fluff, PB, and vanilla - keep stirring! Make it smooth.

4. Turn off the heat and fold in the peanuts (for Snickers), or don't (for Mars bar)
5. Pour and spread over cooled and set bottom chocolate layer. Stick that puppy back in the fridge for another hour.
Directions (Caramel Layer):
1. Combine caramels and cream in saucepan over low heat. Stir until smooth (10+ minutes).
2. Pour over nougat and return to fridge for another hour.
Directions (Top Layer):
1. In a microwave safe dish/measuring cup, melt together the bottom layer ingredients over 90 seconds, stopping every 30 seconds to stir, or until completely melted and combined.
3. Spread melted PB chocolate goo on top of other three set layers. Put back in fridge to solidify one final time.

This is the part where you're really thankful I told you to use a disposable pan...
First, peel back the edges if your pan. You'll see how nicely the layers have set, making it super simple for you to take them out of the pan.
I just flip it upside down and peel off the bottom. The flexibility of the disposable pan helps. If you're super-anti-disposable pan, then try to use a silicon one or something with equal amounts of flex.


Next, take your nicely sharpened knife and cut it up. You can make bars, squares, or whatever your heart desires. I'd store them in the fridge because the chocolate will go soft if you leave it out too long.
When I make a double batch (two 9x13" pans), I can keep them in the fridge for about two weeks and they still taste amazing. I can't vouch for longer than that because they really won't ever last once people have tasted them.
Try it. You'll never want to go back to your standard Snickers/Mars bar again. I promise.


