I know this is
20 days a bit late, but August contained one of the coolest "national" holidays ever: National S'mores Day!
Now, of course you ALL know how addicted I am to sweet things in general, but s'mores in particular. There's something about the combination of flavors that makes me proud to be an American. Especially the first time I made them with my husband, when he was in his mid-20's. Being from South Africa, he never was able to experience the rich and gooey goodness known as s'mores.
It was almost like
that scene from The Sandlot. Which I also introduced to Thomas... in his 30's... sigh. There's so much to life that he missed out on! I think if he's going to become an American citizen, it's not just about passing the
Constitution test, it's about knowing the culture of why the people our age are the way we are, no?
So, before I go off too far on a tangent, this week I'll be presenting some of my favorite s'mores recipes (so far), including revisiting one that I've done in the past: the
S'mores Rice Krispies Treat.
I've now done this recipe three or four more times, and I've made some tweaks, corrections, and improvements, so I'd like to clear the air before moving on to bigger and better (not possible?!) treats!
 Ingredients
 (Krispies Layer):
3 T butter (chopped into smaller pieces)
40 large marshmallows (1 Jet Puffed bag)
5 C Rice Krispies
1 C Golden Grahams
1/2 bag mini chocolate Chips
Non-stick cooking spray
Directions (Krispies Layer):
1. Spray a 9"x13" pan
2. In a large, microwave safe, bowl place the marshmallows and butter pieces. Microwave for 3 minutes, stirring after 2, until butter and marshmallows are melted. Stir gently. In order to prevent the marshmallow from sticking to your spatula, just use some non-stick spray on the spatula.

3. Stir in Rice Krispies and Golden Grahams until combined. Stir in chocolate chips and immediate press into the prepped pan. (My assistant likes to use a little parchment paper as a barrier between her hand and the sticky cereal. This way she can keep pressing it down without making too big of a mess on her hands.)

Ingredients (Fudgy Layer):
1 bag semi-sweet chocolate chips
1 bag butterscotch chips
about 20-24 graham cracker (square halves)
Directions (Fudgy Layer):
1. Combine both bags of chips in a microwave safe bowl. Microwave about 2 minutes, stirring every 45 seconds, until melted smooth.
2. Spread fudgy frosting over the Krispes layer.
The more the merrier!
3. Break/cut each full graham cracker into 8 smaller pieces (or each half cracker into 4 pieces).
4. Layout the graham crackers with just a little space in between until the fudgy layer has been completely covered with graham.
5. Chill in fridge until chocolate has set.
 Ingredients
 (Top Layer):
1 bag (or less) of large marshmallows, cut (hamburger style) in half.
1/2 bag of mini chocolate chips
* You'll need one half of a marshmallow for every graham square on the fudgy layer. *
Directions (Top Layer):
1. Cut your treats into squares - you've already set up where to cut by pre-cutting your graham crackers.
2. Remove the treats, and place on a parchment paper lined cookie sheet.
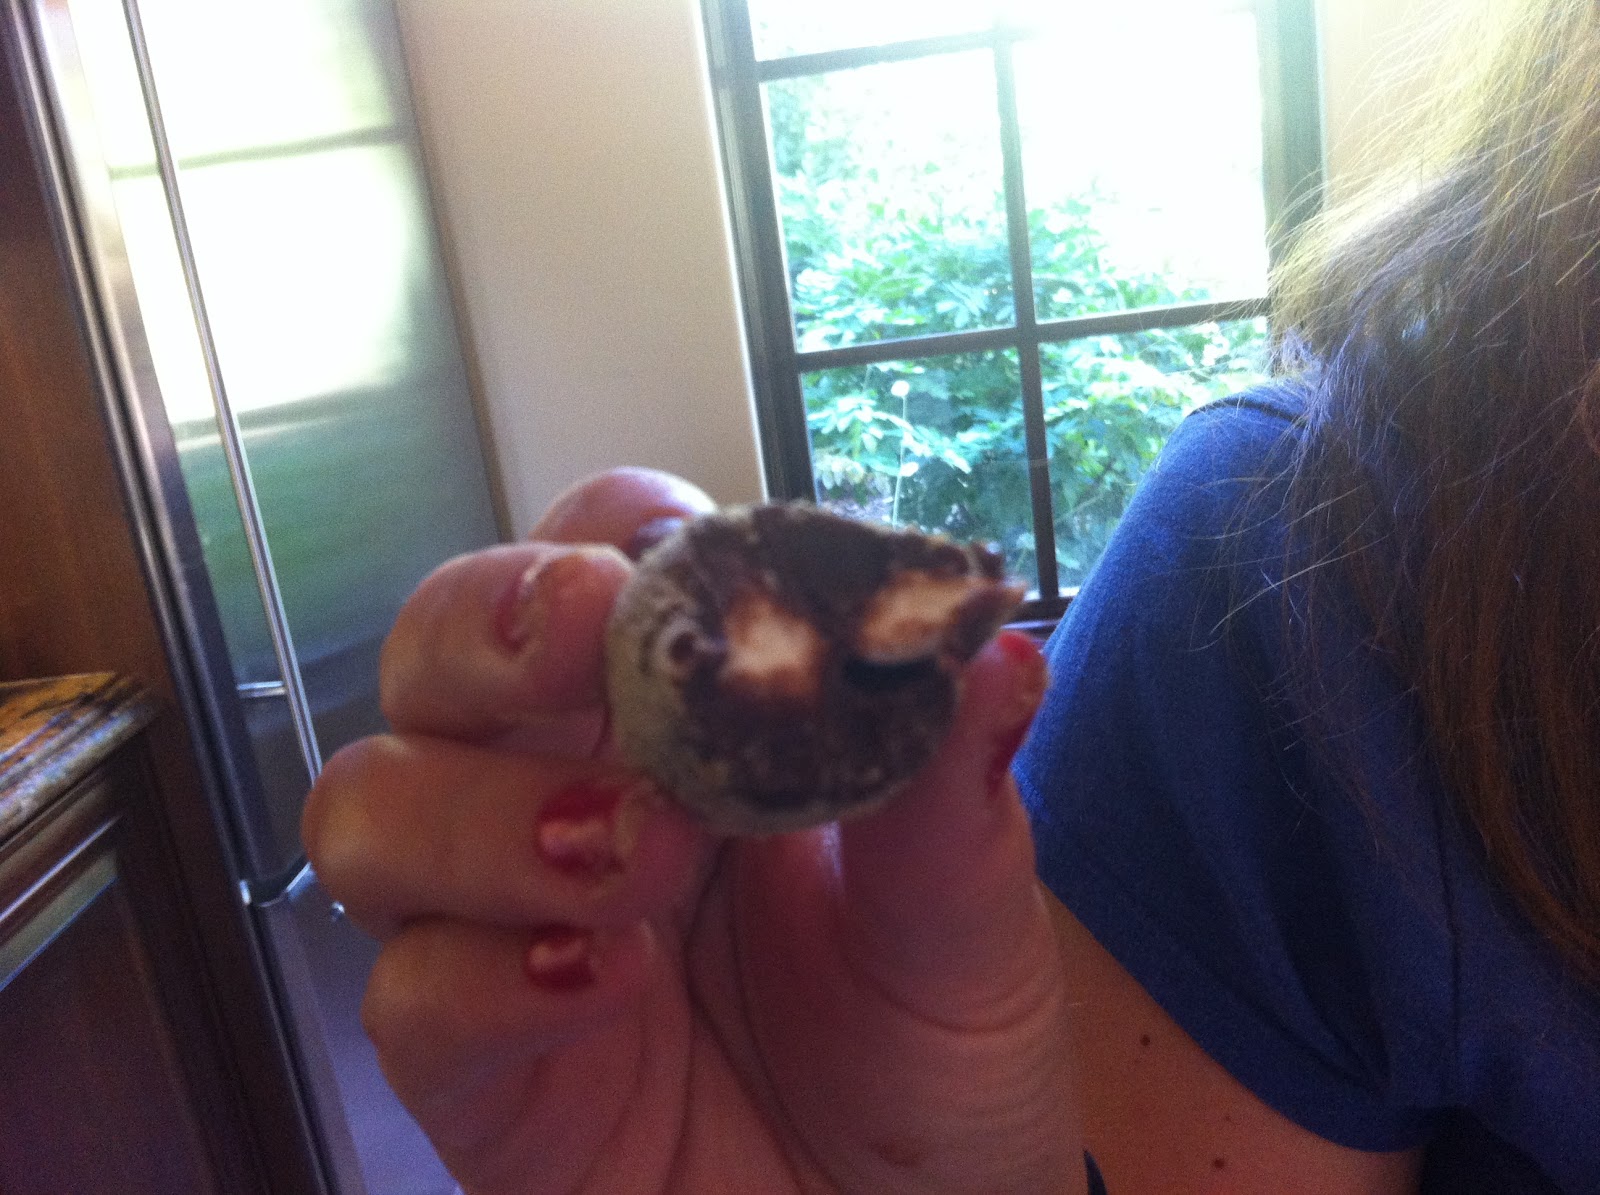
3. Take your cut marshmallows, and place one (sticky/cut side down) on top of each treat.
4. Turn your oven broiler on high and place treats in the oven.
5. Broil until the desired darkness/crispness of your marshmallows
6. Melt the rest of your mini chocolate chips in a microwave safe bowl (1-2 minutes, stirring at least twice).
7. Stir until smooth, then lightly drizzle over the tops of your treats.
I know, this still sounds like a lot, but once you get the hang of it, it's quite easy, and you'll learn little tricks that'll
keep you sane in make the process simple. It's really worth it, and I keep getting rave reviews every time. It's got a little something summery for everyone!