Showing posts with label Mexican. Show all posts

Friday, November 23, 2012

Sausage Stuffed Jalapeno Poppers

I LOVE jalapeno poppers.  The problem?  I don't have a lot of patience to make them.  There's something about washing the cut peppers and the capsaicin fumes that try to choke me out that just makes it not so much fun.  So I try to find other ways to make poppers.

And then, my gorgeous cousin made these poppers for me and I knew that there was no going back.

EVER.

Seriously.  They're that amazing!

Ingredients:
1 lb of ground sausage (any you prefer)
8 oz of cream cheese (softened)
2 C shredded four cheese blend, divided (I used the Mexican mix)
1 lb of jalapenos, halved and seeded
1 green onion, finely chopped

Now the prep work on this takes longer than I would normally like, but know that it is completely worth it and definitely worth the try.

Directions:
1. Preheat the oven to 425 degrees.
2. Brown sausage in a skillet.  Drain and cool (slightly)
3. Mix cream cheese, 1 C of cheese shreds, green onions, and sausage in a bowl.  The heat of the sausage helps to melt the cheesey goodness together.

*At this point, I paused.  I put everything in a zip lock bag and stored it over night.  I had already prepped the peppers and put them in their own bag as well.*
The best part about pausing a bit here, is that the cream cheese re-solidifies as it cools, which makes it easier to work with.  You can slice it and dice it which makes it easier to form in the peppers. You can work straight through at this point, I just had a lot to prep so this was a convenient place for me to stop. (and no, I didn't leave the oven on all night!)


4. Place your stuffing into your halved jalapeno pieces.

5. Place stuffed jalapenos on a lined cookie sheet (save yourself the clean up later).  Sprinkle with remaining 1 C of cheese shreds.

6. Bake for 20 minutes until lightly browned and bubbly.

Serve immediately.  Seriously, you might need to double up on this recipe.  It's best to make more than you think you'd need.  People will graze on these as long as they exist so be prepared.

Even people who don't like 'spicy' food will be attracted to this because the cream cheese helps to balance out the little heat from the jalapenos.

** Extra tip: Wear gloves through the cutting, cleaning, and stuffing process, even if this seems overkill.  Save yourself the embarrassment later when you wipe your eyes or something else and cause ridiculous burning sensations. **


Wednesday, November 7, 2012

Queso Fundido

Hey, everyone!  Sorry for the short break.  It's been crazy hectic and I hadn't had a chance to get my photos off my phone to start posting again.  Completely lame?  For sure!  But now I'm back and I'm ready to swing into that holiday season with all of you.  First off, a dish I made for Labor day that got lost in the shuffle, some how...  :)

I love queso fundido!  There's something about the creamy deliciousness that I can't ignore.  Just the right amount of meat and cheese and tortilla.  If someone is having a Mexican get together, it's my go to for sure.
Ingredients (I doubled these for my dish):
1/2 lb chorizo
1/4 onion, diced
1 bell pepper (or hot pepper, depending on your preference), diced
2 C of cheese (I like a nice white cheese, but anything that melts well works fine)
12 small corn (or flour) tortillas, warmed
Directions:
1. Saute your onion until translucent, add pepper.
2. Once cooked, add the chorizo.
3. Cook all, drain off the excess oil. 
* The problem with chorizo is it doesn't really every change color or consistency.  Just give it a good 10+ minutes.  Use your best judgement. *
4. Press meat mixture into a lightly greased 8x8 dish.
5. Top with cheese
6. Bake at 350 until melted and bubbly
7. Spoon into warmed tortillas and enjoy.  ( I didn't get a final picture because it was devoured too quickly.  Sorry!!)
Also, I prepped this the day before and did the final baking the day of.  My "final" picture below is what I covered and saved for the cookout the next day.  Much easier that way then trying to reheat this dish after it's been baked.  It's best served immediately.

Saturday, July 7, 2012

Mexican Hot Chocolate Cupcakes

What better way to round up a Mexican Fiesta than with a "spicy" chocolate cupcake?

I found the original recipe here.
Ingredients:
For the cupcakes:
2 cups sifted cake flour (I substituted white rice flour to make it gluten free)
1/2 cup unsweetened cocoa powder
1/2 teaspoon ground red pepper flakes (add more if you like it spicier.  I omitted it all together)
1 cup sugar
2 teaspoons baking powder
1 teaspoon vanilla
2/3 cup vegetable oil
2 large eggs
1 cup milk
-
For the ganache:
6 ounces (170 g) good dark chocolate, chopped
1/2 cup (146 g) Nutella
3 Tablspoons (43 g) unsalted butter
2/3 cup (158 ml) heavy cream
1 teaspoon ancho chili powder
-
For the frosting:
1 teaspoon ancho chili powder
1/8 teaspoon cayenne pepper
1/2 teaspoon ground cinnamon
2 cups confectioners’ sugar (original recipe calls for 4 cups)
1 package, 8 ounces (228 g) cream cheese, at room temp.
8 Tablespoons (114 g) unsalted butter, softened
1/2 teaspoon (2.5 ml) vanilla extract, clear
cinnamon sticks for decoration (optional)

Directions:
For the cupcakes:
Preheat oven to 375F. Grease and flour 24 muffin cups, or use paper baking cups.
Mix and sift flour, cocoa, sugar, pepper and baking powder together into a bowl. Add oil, vanilla, eggs, and milk; beat for 30 seconds with a mixer at low speed, scraping the bowl frequently. Beat for 7 1/2 minutes more with a stand mixer at medium speed or 6 minutes with a hand mixer at high speed, scraping the bowl 4 – 5 times.
Pour batter into pans. Bake for 15-18 minutes or until a toothpick inserted in center comes out clean. Remove muffins from oven and cool in pans for about 12 minutes. Remove muffins from pans and finish cooling on a wire rack.  Then, I used the tip of a teaspon to cut out the middles of the cupcakes for a place to fill in the ganache.

For the Ganache:
Take all ingredients and melt them in the microwave (about 45 seconds), stirring at least once.
Fill the cupcake using a small spoon with ganache until the ganache reaches the rims of the top of the cupcake.
The cupcakes are now ready to be frosted.
For the frosting:
In a bowl sift together the chili powder, cayenne pepper, cinnamon and confectioners’ sugar. Set aside.
In a stand mixer with the paddle attachment beat the cream cheese and butter on medium speed for about 4 minutes.
Mix in the vanilla extract.
Add the sugar mixture to the cream cheese mixture and mix together.
The frosting is now ready to be piped onto the cupcakes. Use a bigger tip for bigger swirls. Decorate with a cinnamon stick .

Thanks to my MIL for modeling her cupcake!

Monday, July 25, 2011

Easy Chicken Fajitas!

It has come to pass, in my short decade or so of cooking, that if a recipe claims to be "easy," AKA, easy is part of the title, then I'm hooked.  I don't think I (necessarily) look for the easy way out of life, I just know that when it comes to my limitations, I don't want to spend my time making flop meals.  I'd rather make a meal that I'm almost guaranteed success in then to try one too difficult and fail spectacularly.

 
Hence, tonight's Easy Chicken Fajitas.  We make all sorts of wraps all the time, so I'm no stranger to the taco/fajita game.  I know what's going to tast great, and what I could probably skip on.  This recipe was easy enough, and it pretty much followed through on the way I normally make fajitas.  Since we had just about everything in the house, it was the winner winner chicken dinner of the night.  I can also say that I pretty much stuck to the recipe on this, although I also added some taco seasoning to the chicken for kick.

They say there's no wrong way to eat a Reese's.  I'd like to contend that there's no wrong way to build a wrap, just pile it on and enjoy!

Saturday, July 2, 2011

White Girl Tamales!

Okay, I'm super excited about this recipe.  See?  There's this abuela who rides in a broke down green Chevy Astro around our neighborhood selling tamales out of the backseat.  The problem?  There is no rhyme nor reason to when she'll drive by.  (No, mom, the problem is not that I'm buying food out of a random stranger's van.  Stranger danger only applies to candy.)   Unlike the ice cream trucks that drive by at least once every hour all day long, all year long, the tamale abuela is much more of a rarity.  Unfortunate, because her tamales rock my socks!  So, when I found this recipe, I couldn't wait to try it.  Sure, I'm all for authenticity, but I know my attempts couldn't stack up, so white girl tamales all around!!

The problem with this recipe is that it wanted me to make my cornbread from scratch.  I understand that some people may find this to be a positive, but knowing that I have a box of Jiffy Muffin Mix, or something similar means I plan on being lazy and just adding the ingredients I need.  My surprise?  For once, there's no Jiffy in the pantry.  However, I did have a box of Krusteaz Natural Honey Cornbread .  Double bonus, since you only need to add water to make it a mix!

I started by chopping the pepper, and spreading it throughout the bottom of a well greased pie dish.  Truth?  I used a whole pepper, and I probably should have used two pie plates since mine are small.  However, I figured I was going for the "cram it in" approach, and all is fair in love and tamales!  I then made my taco meat the way I normally would.  I just added taco seasoning instead of many of the other ingredients, since taco mix generally contains all of them anyway.  Plus, we buy McCormick Taco Seasoning Mix in the bulk size, so it only makes sense to keep with what you've got instead of starting from scratch every time.
Speaking of things already in the house, I still had two-thirds of a block of pepper jack cheese. I just shredded the whole thing and added it to the cornbread mix. I didn't measure it - figured it needed to get used, and who hates cheesy cornbread/tamales anyway?   I followed the directions after that, I swear! I put part of the mix over the peppers and tried to spread it out as best I could. Turns out my mix was very thick (what with all the cheese and all), so I had to spread it out with my fingers, otherwise the peppers kept moving with the mix.


I then added the completed taco meat/salsa mixture, and then topped it all off with the rest of the cornbread mix.  I baked it per the recipe, although it did finish up about 3 minutes quicker than expected.  Could be my mix, could be how it was overflowing anyway.  Who knows?  I'm just saying know your oven and watch your food!

Now, the tricky part...  You're supposed to invert this on to a plate.  Now, I can't say that's the scary part.  I make pull apart (monkey bread) rolls and kick butt at inverting that mess, but if you remember back about two paragraphs, this mix was very thick, and it was difficult to spread.  I feared that my tamale pie would be three separate layers, and the taco meat layer would send the bottom (now top) layer flying.  Like any good wife, I connived convinced my husband that he should try the inversion process and I'd supervise take pictures.  Lucky duck - it worked like a charm!
It might not be the prettiest tamale you've ever seen, but I do believe I qualified that this was a white girl tamale and there was no holds barred!  We sliced it up and served it with lettuce - I'm not sure what my shredded lettuce obsession is, just go with it!  Thomas said it could have used something else, maybe more salsa or some guacamole, but I thought for a fake tamale it was pretty darn good (and it held its shape pretty well)!


Sunday, June 12, 2011

Appetiz(ing)er

The other day, I had big plans for dinner.  I had purchased all of the ingredients, it was an appetizer and main course, multi-stepped recipe, included ingredients directly from my garden; the whole nine yards.  I was building up my esteem to rock it out, because even though I knew it was more of a Thomas-Type of food, I thought it'd be fun to try.

And then, we weren't hungry.  We could blame the usual culprits - big lunches, midday snacks, warm weather - we had the summer trifecta working against us.  Luckily, in my laundry list of recipes to try, I had a quick appetizer that only required three ingredients (two of which were already in the house), so I swung by the store on my way home, picked up the third, and was ready to try something else.

I decided to make the Quesadilla Cups with Nectarine Salsa.  Sounds awesome, right?  Sure thing!  Until you remember that I'm tired, don't really want to put the effort in to dinner, and there's no way on God's green earth that I'm going to make the cups AND the salsa.

No worries.  The grocery store also had this, which was only 10 feet away from the block Pepper Jack cheese that I purchased (instead of the recipe's Monterey Jack):
I figured it still had the sweetness of the nectarine salsa, and it would help tame the mild heat of the cheese.  Okay, true confession: if you look closely in that picture, you also see a tub of pre-made guacamole to the right of the salsa.  This tub had the added benefit of being within a foot of the salsa, and was consequently brought home just in case we wanted to change it up.  Stand back, we're living on the edge this week in the Pampered Jes household!!


I finally tried out my mini-tart shaper to squeeze the tortilla down in the mini muffin pan.  I used a more authentic tortilla for this, and they really refused to be molded, so if you look at the picture on the right, the cheese cubes are barely being held in by an indent in the sliced tortillas.  I'm pretty sure if I bought a package of the really processed flour tortillas, I would have achieved the optimal cup stature, but as they say, "c'est la vie!"  There was no one here but us chickens, and we just enjoy good food, not fancy cupage. :)

Start to finish, this whole recipe probably took me 12 minutes, not accounting for making any salsa, since that obviously wasn't happening.  It was easy, super yummy, and went great with the salsa.  The guacamole was also nice, but completely unnecessary with our favorite salsa to take its place!  As an actually appetizer, I would have just put the salsa in the cups, but we had more fun playing around with different quantities, and seeing how much salsa could really fit into one "cup"!


Friday, May 6, 2011

The Cheat

Okay, for Cinco de Mayo, I cheated.  To be fair, I did create a Pampered Chef recipe...  But to be honest, it's a recipe I've done before with a few different mutations.  I made the (in)famous Taco Ring.  I've made it before with spinach artichoke dip, or with artichoke jalepeno dip - both of which were pre-made and store bought for my convenience.  The point is that I made a form of Mexican food for a Mexican holiday, and since it was the second time we've had Mexican food in four days, I figured it was okay to cheat.

I took my own pictures this time.  While they are never as pretty as the ones online, I can at least claim them as my own.  There are as authentic and imperfect as I am, and they're from my own honest-to-goodness, unfaked, 100% real, messy kitchen.

So, of course I browned the meat, using my mix and chop (which I've had forever and adore).   I then flayd my cresent rolls and distributed the seasoned ground beef with peppers and then topped with cheese.  I pulled the sides in to create an oval wreath.  Had I had a nice round stone, I would have totally made a perfect circle.  Instead, I improvised!

After 22 minutes, the meal was ready.  I served it up with lettuce, salsa, and guacamole.  It wasn't fancy, but it was quick and delicious.  And, since I was just eating the leftover chicken breast from my 30 minute chicken night for lunch, I probably could have eaten the whole ring by myself.  
As it stands, there are no leftovers, but I certainly had some help to polish it off!


All in all, some good eats.  Happy eating!

Thursday, May 5, 2011

Deep Covered Baker

My first two forays into the Pampered Chef realm have come about purely due to curiosity.  PC sells a Deep Covered Baker - a stoneware product that helps to cook things quickly, easily, and fairly efficiently.  I have heard stories, and if you go to a PC party, or meet someone who has one of these dishes, you'd swear that there was nothing you couldn't do with it.

Now, truth be told, I received one of these for my wedding.  In fact, it has traveled with me from place to place and across the country and has never been used.  Truth #2: Stoneware used to scare me.  I had a pizza stone once that I didn't know what to do with and ended up chucking it because of the various spots that had accumulated due to improper seasoning.  See why I've avoided this??

Fast forward, here I am (four years and 2000 miles away from that newlywed me) with a deep covered baker in my cabinet, a consultant's package of products in the mail, and a few recipes just ready to burn the house down.  I might as well start with one of the pieces I already have.  This time I'm armed: I've read the product use and care instructions, and passed the quiz on stoneware.  I'm on it!

After looking through my refrigerator and going through the different recipes, I decided that my first dish would be the 
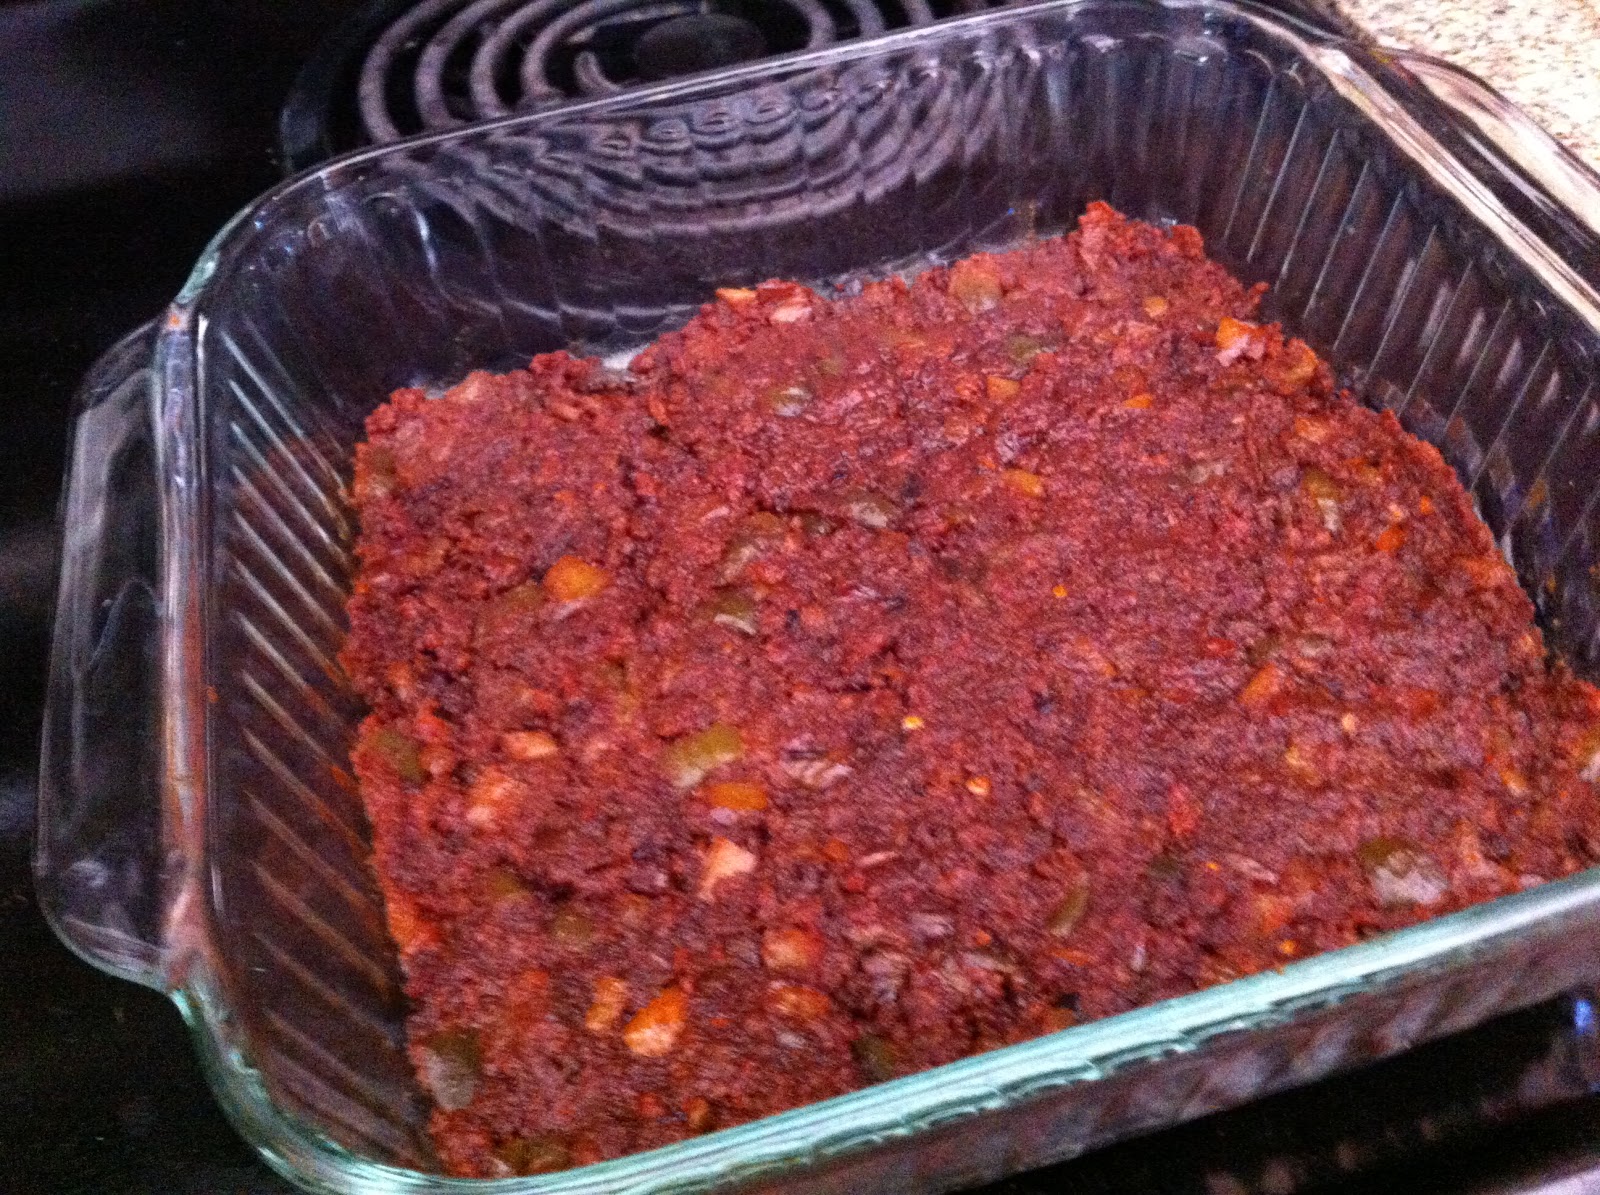
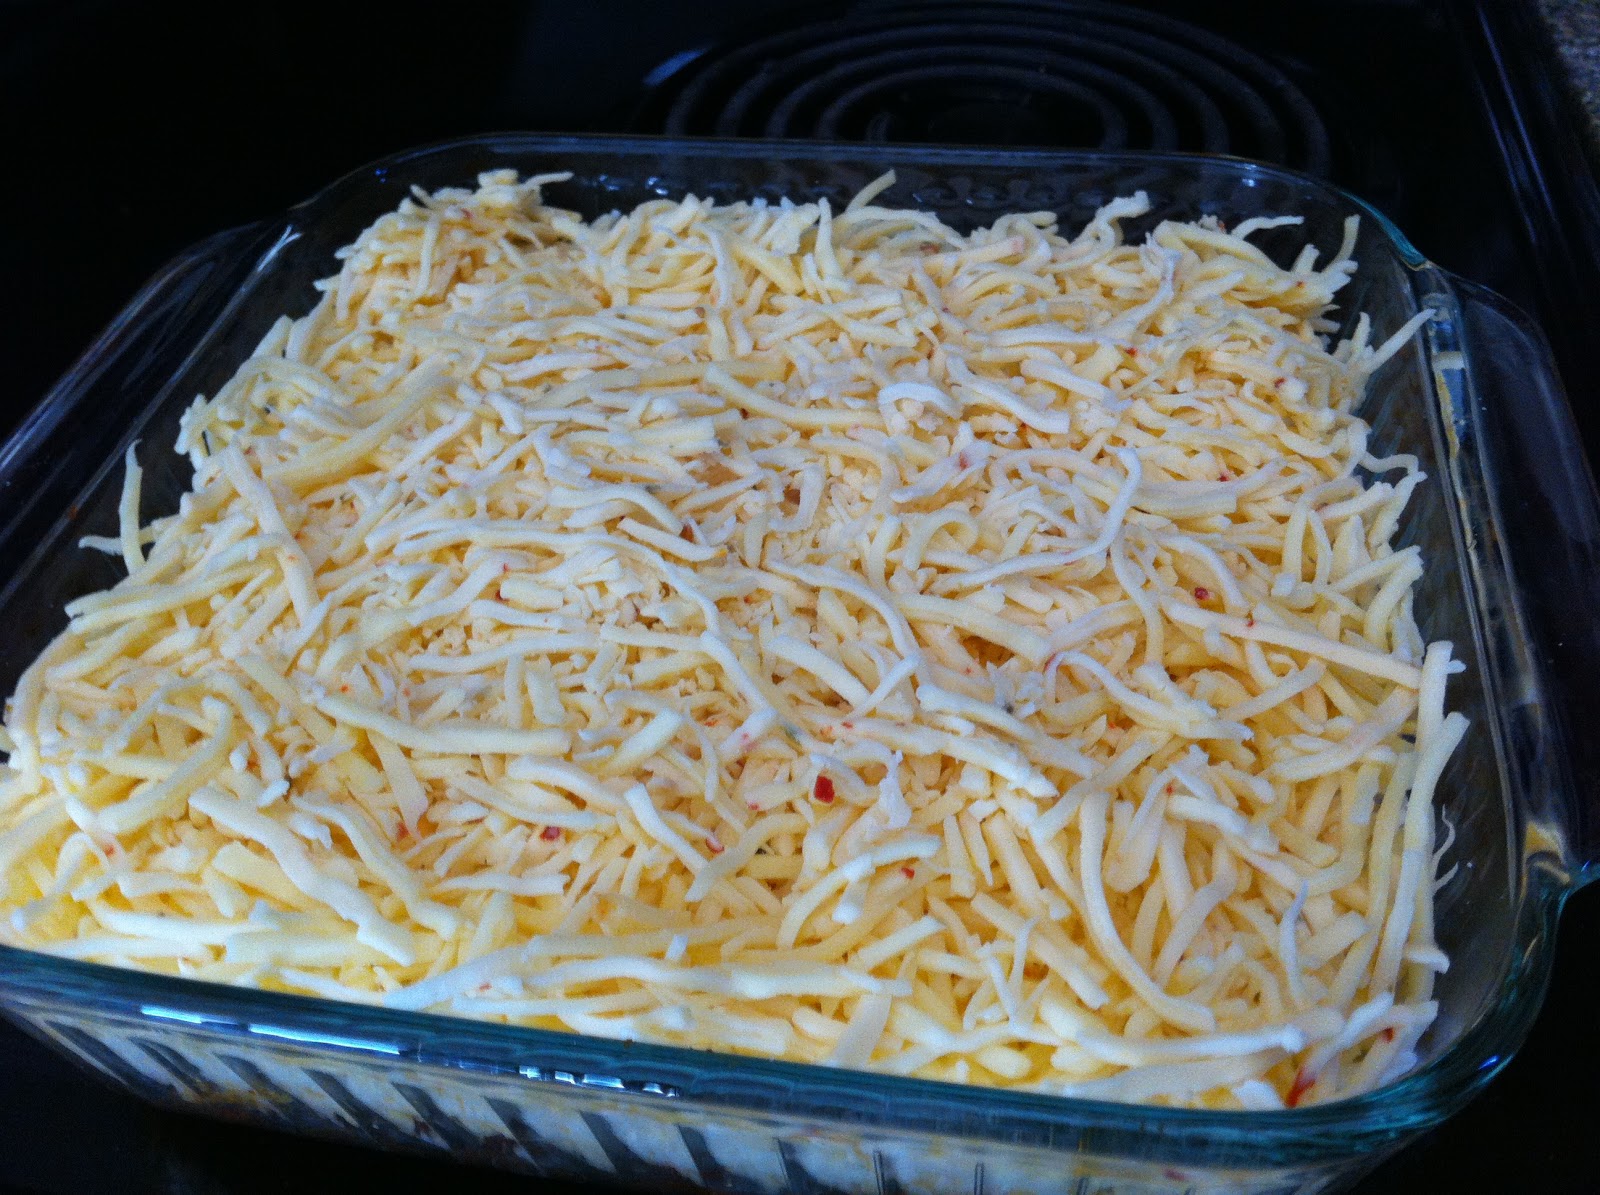
Chicken Mexican Lasagna.  This recipe has limited ingredients (a plus), pre-cooked chicken (a bigger plus), and a very short cooking time (dingdingding - we have a winner!).  So, I have bolstered my courage, pre-seasoned my baker, and layered my ingredients in a fairly rushed artful manner.  I even used a fresh onion out of my garden - bonus!  20 minutes later, I was serving up some hot, tastey goodness.

Now, if I was a great and organized chef, with my camera ready at hand, my dish might have looked something like this.  (Hmmm... add to that "if I had followed the layering directions the way I was supposed to."  I don't make excuses for the way I cook, but I was elbow deep in enchilada sauce and the print on the recipe I had was extremely small in the dim light of my kitchen.)  My lasagna was smooth on top, since I uber-layered the chicken within the lasagna, and I'm not a great cutter who could make a perfect piece like that.  Regardless, it was delicious.  The recipe claims eight servings, and maybe if I had more sides that would have been the case.  Instead, I just served it with lettuce to add a nice crunch.  My husband and I ate VERY well, and I still had enough for two big lunch leftovers.  I'm a huge fan of having something filling left for lunch, so a definite mission accomplished on this one!

I'm on a roll now, I've worked on one recipe and still have some energy to keep this going.  (Who am I kidding?  This project will probably be old within the month, but if I don't set my sights high, I can't predict where I'm going.  At least I'm going to try.)  After success #1, I decided the next day was the perfect time to try my second recipe.

At the last PC party I went to - the one that pulled me over the edge to becoming an independent consultant - the woman sitting next to me was a former consultant.  She pointed out some great gadgets in the catalogue, contributed to the discussion during the cooking demonstration, and started raving about how the deep covered baker makes chicken a breeze.  I hate making chicken.  Well, I hate touching any kind of raw meat, but minced meat, or boneless meat, that is easily handled with minimal touching is okay.  Since this makes that easier, I decided to give it a try.

We bought a small fryer (young chicken, whole chicken, or whatever your terminology) to process.  I still made my husband, Thomas, take out the neck and gizzards, clean and oil the bird.  I created the seasoning mixture and we popped that puppy in the microwave.  30 minutes later we had one done bird.

Now, I did have one problem with the chicken: it looked like it had been boiled.  Sure, there were seasonings on it, and it looked super juicy, it just didn't look a thing like the chicken in the picture.  Maybe I missed something, but this bird looked pale, and in a house where things are constantly coming off of the grill, that just doesn't fly.  (haha, that bird really doesn't fly.  nerd)

So, going against my warranty, I popped the whole thing into the oven under the broiler, busting rule #1 of the product's use and care instructions.  It was only for two minutes, just enough to give this girl a tan, and the chicken really was perfect.  I doubted everyone, and in hindsight I can apologize for being so naive.  I served the chicken up with a bagged salad - Pear Gorgonzola - and Thomas made some garlic pita bread.  Awesome meal made within 40 minutes (including prep time).

So far I'm two recipes in and I'm pretty impressed with myself (and OF COURSE the baker).  I'm truly ready to start this challenge.

Game On!