Showing posts with label cheese. Show all posts

Saturday, March 23, 2013

Cheesy Shrimp Dip

This dip was a HUGE crowd pleaser.  I multiplied this recipe by five (5!!) for 60 people and they could've kept eating it all night if I hadn't run out.

The recipe originally comes from the Crock Pot Girl.  I didn't modify it too much, but here's how it went...

Ingredients:
2 slices of bacon, cooked crisp and crumbled
3 medium onions, chopped
1 garlic clove, minced
4 jumbo shrimp, peeled/deveined (I used pre-cooked as well)
1 large Roma tomato, seeded and chopped
3 C Monterey jack cheese shreds (I used a Mexican 4 cheese mix)
1/4+ tsp cayenne pepper
4-8 drops Tabasco sauce
freshly ground black pepper to taste
* Serve with chips or crackers of choice


Directions:
1. Cook bacon until crisp, drain, and crumble.
2. Saute onion and garlic in bacon drippings, drain.
3. Coarsely chop shirmp
4. Transfer all dip ingredients to crock pot
5. Cover and cook on low for 1 hour, occasionally stirring, until cheese is melted.

* If need be, you can thin out the dip with a little milk.

Friday, November 23, 2012

Sausage Stuffed Jalapeno Poppers

I LOVE jalapeno poppers.  The problem?  I don't have a lot of patience to make them.  There's something about washing the cut peppers and the capsaicin fumes that try to choke me out that just makes it not so much fun.  So I try to find other ways to make poppers.

And then, my gorgeous cousin made these poppers for me and I knew that there was no going back.

EVER.

Seriously.  They're that amazing!

Ingredients:
1 lb of ground sausage (any you prefer)
8 oz of cream cheese (softened)
2 C shredded four cheese blend, divided (I used the Mexican mix)
1 lb of jalapenos, halved and seeded
1 green onion, finely chopped

Now the prep work on this takes longer than I would normally like, but know that it is completely worth it and definitely worth the try.

Directions:
1. Preheat the oven to 425 degrees.
2. Brown sausage in a skillet.  Drain and cool (slightly)
3. Mix cream cheese, 1 C of cheese shreds, green onions, and sausage in a bowl.  The heat of the sausage helps to melt the cheesey goodness together.

*At this point, I paused.  I put everything in a zip lock bag and stored it over night.  I had already prepped the peppers and put them in their own bag as well.*
The best part about pausing a bit here, is that the cream cheese re-solidifies as it cools, which makes it easier to work with.  You can slice it and dice it which makes it easier to form in the peppers. You can work straight through at this point, I just had a lot to prep so this was a convenient place for me to stop. (and no, I didn't leave the oven on all night!)


4. Place your stuffing into your halved jalapeno pieces.

5. Place stuffed jalapenos on a lined cookie sheet (save yourself the clean up later).  Sprinkle with remaining 1 C of cheese shreds.

6. Bake for 20 minutes until lightly browned and bubbly.

Serve immediately.  Seriously, you might need to double up on this recipe.  It's best to make more than you think you'd need.  People will graze on these as long as they exist so be prepared.

Even people who don't like 'spicy' food will be attracted to this because the cream cheese helps to balance out the little heat from the jalapenos.

** Extra tip: Wear gloves through the cutting, cleaning, and stuffing process, even if this seems overkill.  Save yourself the embarrassment later when you wipe your eyes or something else and cause ridiculous burning sensations. **


Wednesday, November 7, 2012

Queso Fundido

Hey, everyone!  Sorry for the short break.  It's been crazy hectic and I hadn't had a chance to get my photos off my phone to start posting again.  Completely lame?  For sure!  But now I'm back and I'm ready to swing into that holiday season with all of you.  First off, a dish I made for Labor day that got lost in the shuffle, some how...  :)

I love queso fundido!  There's something about the creamy deliciousness that I can't ignore.  Just the right amount of meat and cheese and tortilla.  If someone is having a Mexican get together, it's my go to for sure.
Ingredients (I doubled these for my dish):
1/2 lb chorizo
1/4 onion, diced
1 bell pepper (or hot pepper, depending on your preference), diced
2 C of cheese (I like a nice white cheese, but anything that melts well works fine)
12 small corn (or flour) tortillas, warmed
Directions:
1. Saute your onion until translucent, add pepper.
2. Once cooked, add the chorizo.
3. Cook all, drain off the excess oil. 
* The problem with chorizo is it doesn't really every change color or consistency.  Just give it a good 10+ minutes.  Use your best judgement. *
4. Press meat mixture into a lightly greased 8x8 dish.
5. Top with cheese
6. Bake at 350 until melted and bubbly
7. Spoon into warmed tortillas and enjoy.  ( I didn't get a final picture because it was devoured too quickly.  Sorry!!)
Also, I prepped this the day before and did the final baking the day of.  My "final" picture below is what I covered and saved for the cookout the next day.  Much easier that way then trying to reheat this dish after it's been baked.  It's best served immediately.

Friday, August 31, 2012

Bacon, Broccoli, Mac and Cheese

 The original recipe for this can be found here.

However, I found I didn't have enough patience after work to go through a few extra steps, and I didn't want to add onions, so here's my (sl)easy work night version...

Ingredients:
6 C broccoli, steamed, but still a bit firm
2 slices of bacon, cooked and crumbled
1 box of pasta (I used the veggie mix pasta)
3 C low fat milk
1 cup shredded cheeses (1/2C sharp cheddar, 1/2C your choice)
 Directions:
1. Heat up milk and pasta in a pot over medium heat.  Cook until pasta is al dente.
2. Stir in 1 cup of cheese shreds until smooth.
3. Toss in broccoli and bacon.
4. Serve and enjoy.

You can play around with this recipe, add more or less, change out broccoli for spinach or a different green veg, etc.  I made 6 good sized servings, and they're just as good for leftovers as they are that first night!

Sunday, June 17, 2012

Avocado Chicken Puffs

 Another accidental dinner?  Sure thing!  Wasn't sure that there was another kind...

It started off with this inspiration for puff pastries.

I really hate working with puff pastries, and I'm not a fan of how they taste, so I took the same general principal and added it to some Pillsbury Rustic French Loaf.
 Ingredients:
1 roll of french bread dough
2 pre-cooked chicken breasts
salsa
avocado or guacamole
chopped bell peppers
Mexican cheese shreds (or your own fav flavor)

1. Preheat oven to temperature on bread package (350?), and grease a cookie sheet.
2. Cut the dough into 6 even pieces.
3. Take one piece of dough and form it into a bowl.

4. Spread avocado/guac on the bottom of your bread bowl.
 5. Add chicken and desired toppings.  For me, this was chopped bell peppers and then salsa.
6. Repeat this process for all bread bowls, and then place each bowl on your prepared cookie sheet.
7. Top with shredded cheese
8. Bake for about 15 minutes, or until your bread is puffed and lightly brown.
9. Gently remove with a spatula from pan and onto your place.  Enjoy!

Friday, May 4, 2012

Spinach Dip Bread Bowls

 Here's another mini appetizer that I worked on for a party this past week.  You can find the original recipe here.  I bought all pre-shredded cheese, and I made mini muffin size instead of full muffins.

Also, I used the plain Pillsbury French bread, because they didn't have any of the "rustic" version.  No worries, it's just as great.
 You can mix up your spinach dip the day before and store it in the fridge.  I did this to save time on the day of.

Spray down your muffin pan, and use just a pinch of the bread if you're going with the mini size.  I pinched off enough to fill the bottom half of the pan, then I used my fingers to smoosh it down in the middle, and slightly up the sides.

This is far easier said than done, so if it doesn't get there, don't worry.

Next, fill up the remaining portion of your muffin cup with the spinach dip.  You could probably even go with the store bought for this, but I wouldn't recommend it, especially since the recipe is quite easy to follow.
 Finally, you top it off with some shredded mozzarella and bake about 15 minutes at 350.

I kept going until the edges/cheese started to turn lightly golden.

Now, for my final trick, I used a spoon to pop them out.  Sometimes there was far more spinach dip on top than easily accessible dough, so I just placed in the spoon tip and popped them out one by one. I probably could have just tipped the pan, but I didn't want the tops to flatten.

PS: Tomorrow this blog turns One.  Thank you all for your continued support.  This has been a fun journey of pushing myself to try new things with new equipment and in new ways.  I won't get weepy, but I'm glad to keep this project moving forward.  Yay!!

Sunday, March 18, 2012

Southwest Chicken Wraps

 The original recipe can be found here.  I know, I know, I didn't really follow it, but before we start off on the wrong foot, I want you to know my inspiration!

My ingredients:
1 Bell Pepper, cut into strips
2 Celery stalks, thinly sliced (could have used more)
1 lb pre-cooked chicken, cut into strips
whole wheat tortillas
toppings: lettuce and shredded cheese

The biggest departure point on that ingredient list is the celery.  I've never tried celery in my fajitas before.  I stir fried the peppers and celery, then added the chicken to heat through.  The celery maintains its consistency so well, I think I'll add it to all future fajitas.

The other part that's different is the sauce.  I normally add salsa and guacamole to my fajitas, but I created this sauce instead.  It was 1/2 C light mayo and 3/4 C fat free ranch, with about 2 T of taco seasoning.  That might be two packets' worth, I'm not sure.  I always buy it in bulk.

 The original recipe calls for you to cook the chicken (if necessary) and to mix it up in the sauce.  Thomas loves sauces, and if he were home I might have done it as such.  However, I just drizzled about 2 teaspoons of the SW sauce over my meat as I was creating the fajita and it added the right amount of flavor for me.  This sauce was definitely easier than making guac and salsa, but if you have those on hand, it might be interesting to try it all together.

Super YUM!

Saturday, January 28, 2012

Pizza Bread

What?!  {I'm sure you're declaring in mock indignation} Another pizza recipe?!!

Yeah, yeah, I know, but I'm on this easy pizza kick.  Sure, it doesn't get much easier than pre-made dough, sauce, and toppings, but putting them together in different ways is what makes it interesting, right?

Regardless, I found this and this and decided to give it a go.  Much like the Pizza Pretzels, you're just taking a moment to assemble and then bake. No biggie.

Ingredients (that I used, substitute at will):
Pillsbury Rustic French Loaf
Turkey Pepperoni
Shredded Cheese (I used a mix of what was in house - Asiago, Mozzarella, and Mexican 4 Cheese)
Italian Seasoning (to taste)
Contadina Pizza Sauce

Steps: Roll out the french loaf dough.  I found this was easier when I chopped it in half.  I made two loaves because this was an appetizer/side dish for the family and I wasn't sure how much we'd eat. Then, sprinkle liberally with cheese, add pepperoni, and more cheese if you'd like.  Then, roll it and place it seam side down on a greased baking sheet.  I then brushed some olive oil, Italian seasoning, and extra cheese on top.

Bake at 350 for about 20 minutes, or until nicely golden.  Slice and serve. Best eaten immediately!

So yes, it really is just like the pretzels, just substituting bread and not making the pretzel shape.  We served it with a Chili and a Baked Potato soup.  Those who ate the chili just dipped the bread in that.  I, however, ate the baked potato soup and chose to use the pizza sauce.  Either way it was easy and supper yummy.

Word of caution: I've decided that the only reason I don't like these recipes is because I'm a terrible roller.  I might be a baller, but roller I am not.  That's why cutting the loaf into two short pieces helped because I wasn't rolling and re-rolling the dough to keep up with it.  That's just me...you are probably more dexterous than I am, and if so you can disregard this.  In any case, be quick, then it's easy and (obviously) quicker to enjoy!

Tuesday, December 13, 2011

Brunch Squares

Any recipe that starts with bacon must be amazing!


Okay, today is another trip down to the brunch-tastic vault.  I can’t help that I’m not always original, but I can help that what I choose to place on my table is delicious, and almost always a crowd pleaser!  Today, we’re also looking at a Pampered Chef recipe for Brunch Squares.  No worries if you can’t read a pdf file, I’m here to give it away for free!


First off, of course, The Ingredients:

1 teaspoon vegetable oil
2 cups (8 ounces) grated Colby & Monterey Jack cheese blend, divided
1 package (22.5 ounces) frozen hash brown patties, thawed (10 patties)
8 ounces cream cheese, softened
12 eggs
½ teaspoon coarsely ground black pepper (plus more, optionally)


  8 ounces thickly sliced deli ham (or 1 lb of bacon, cooked and diced)
 4-5 green onions with tops, divided (1 cup sliced)
 3 plum tomatoes (seeded and diced)

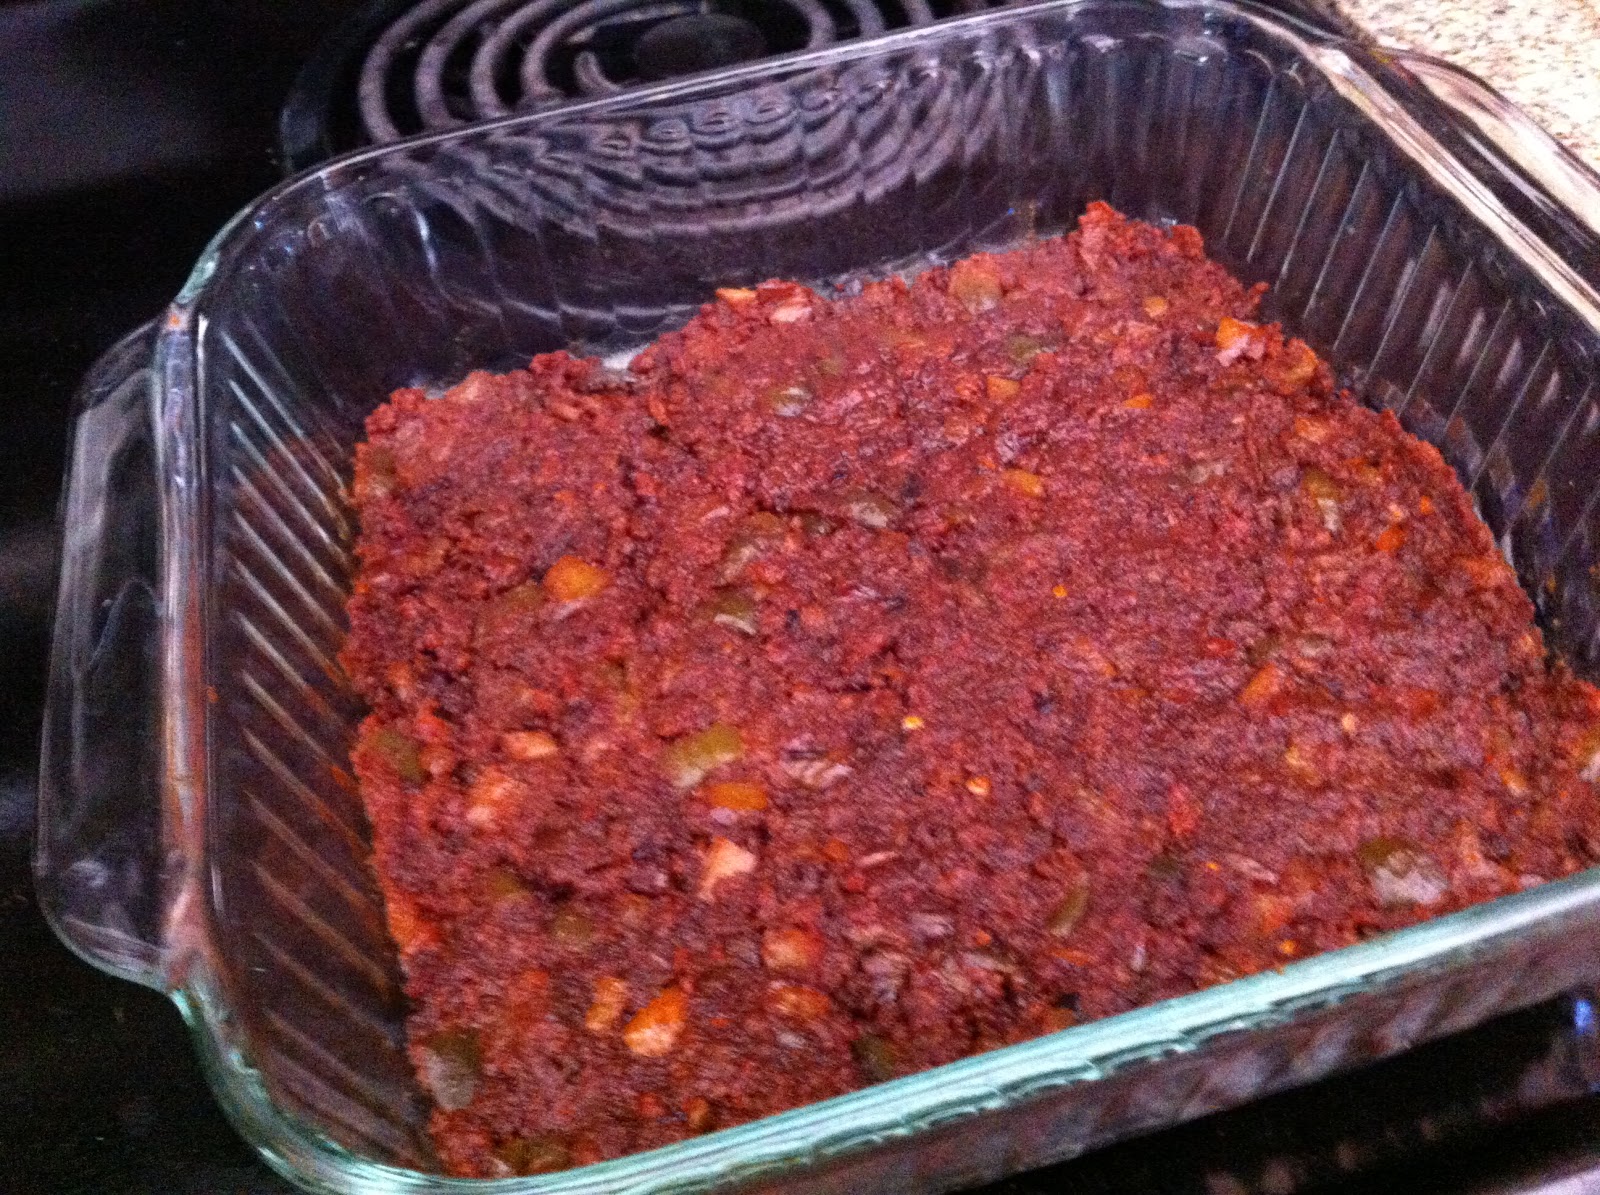
First, brush your stoneware bar pan with olive oil to ensure that it’s well seasoned.  You’d hate to have any of this stick behind while serving it up.  Next, crumble your hash brown patties into a single layer on the bottom of the pan.  Usually, I’m a wimp and my fingers freeze during this process, so I dice them with a handy dandy knife and then press them down once they’re in the pan.  Next, top with half of the required cheese; I buy pre-shredded cheese, but you could just grate your own, too.  Bake at 450 for 13-15 minutes, or until the edges are browned and the cheese is melted.

While that’s baking, whip the cream cheese until smooth, then gradually add in the eggs, and black pepper, whisking until smooth again.  I use a hand mixer to speed up the process, but it’s your call.  Then, add in ¾ C of your sliced green onions and your bacon (or ham) to the mixture.  It’s only there for a minute or two, so no worries, I promise.

When the hash browns are ready, remove from oven and let them cool while you’re finishing prepping.  If you’re ready, then go ahead and add your egg/cheese/bacon/onion mix on top.  Use a spatula to make sure everything is evenly spread, and then pop the tray back into the oven for 6-8 minutes.  This time, make sure the egg is set in the center and that the top looks like a cooked egg.  Sounds odd, but color helps!

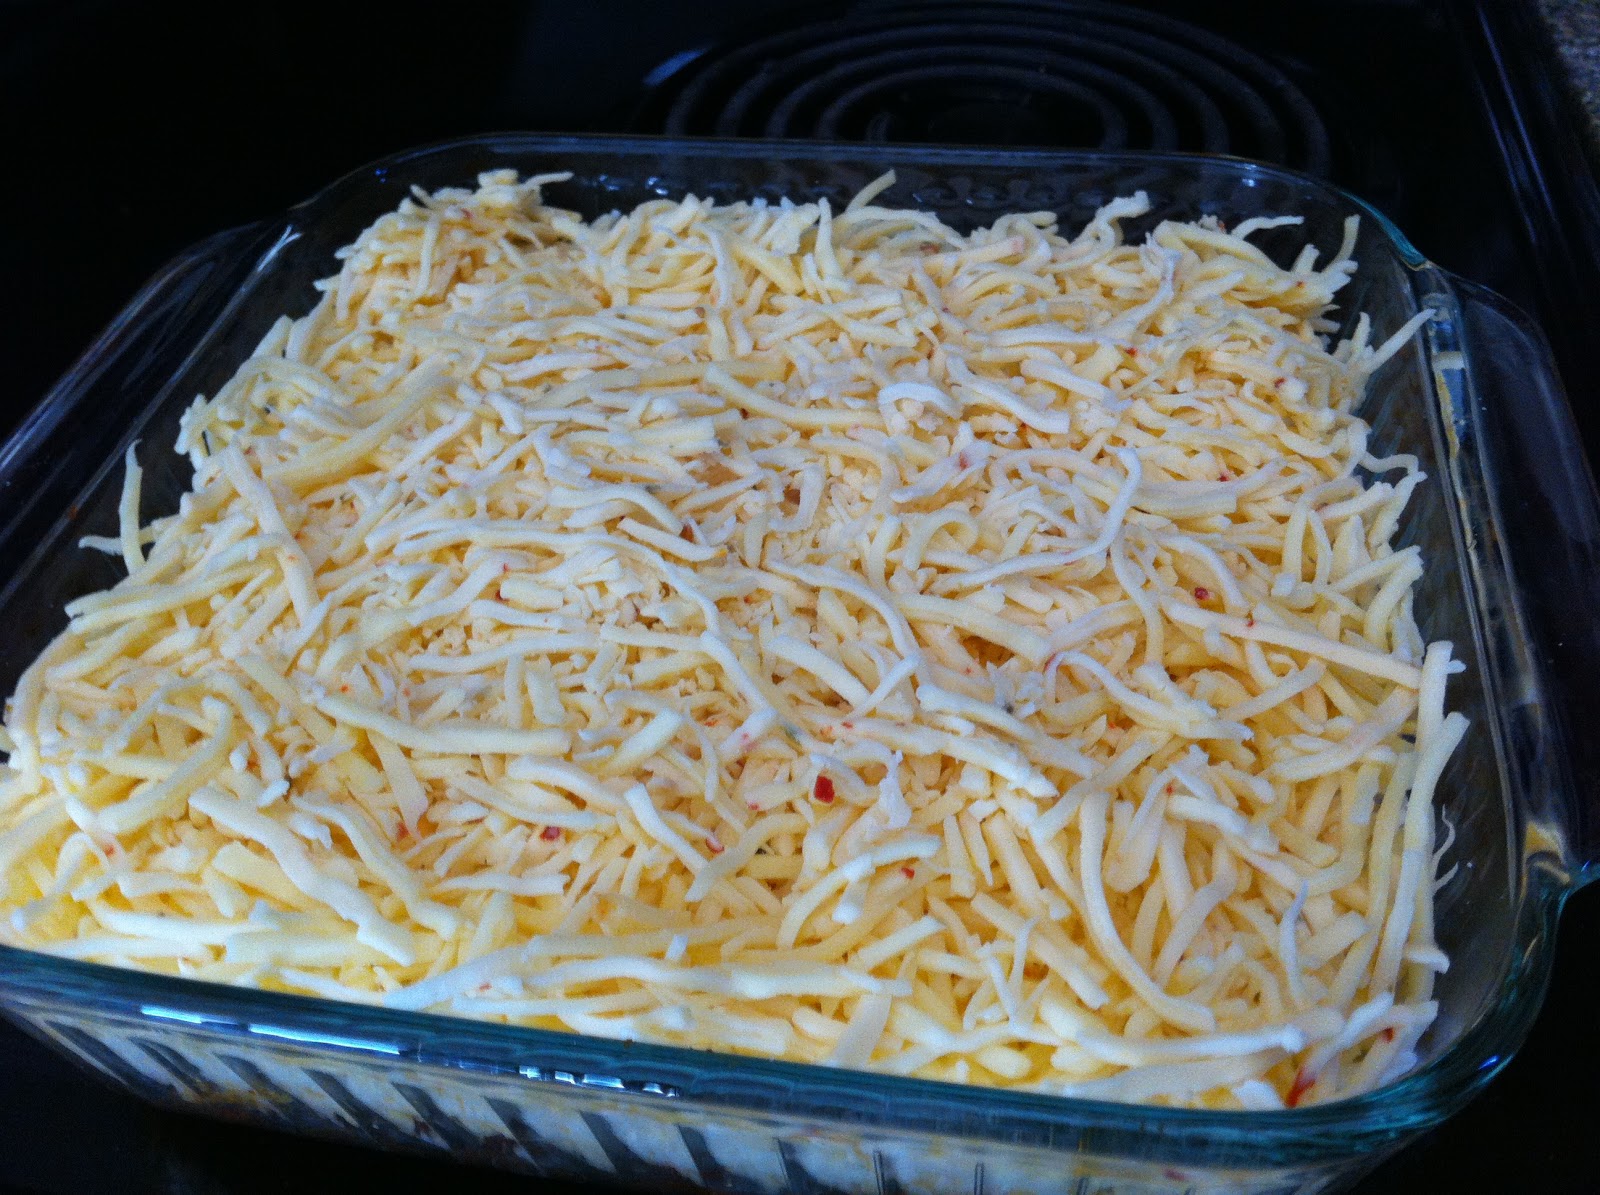
Remove the pan, top with remaining green onions (1/4 cup), diced tomatoes, and cheese (4oz).  I then return it to the oven for about 2 minutes to heat through and melt the top layer of cheese.  Finally, remove it, cut it, and serve immediately.  Your guests will thank you for it.  While there is a bit of prep, and a lot of little steps to this recipe, it truly is easy, and so good.  It’s everything that makes a breakfast great, and you should give it a try when expecting a few for breakfast.  This makes 12 servings, but depending on your crowd, it’ll comfortably feed 8-10.

I'm not even a tomato fan and I find these delicious!!

Thursday, November 10, 2011

It's getting cheesy!

Take a selection of your favorite cheeses...  Then use a couple of cookie cutters...

Then make a wreath!!

Sunday, August 7, 2011

A new style of Broccoli...

The importance of following directions lie in this recipe for Broccoli Cheddar Gratin.


My biggest problem about the way it turned out was how the bread crumb mixture was just everyone, but the cheese wasn't.  See?  I mixed the crumb mix in the broccoli, but put the cheese on top.  Turns out, it was all supposed to be that way.


Oops! Sorry, y'all. Maybe it'll turn out better when you actually follow the directions, and try not to do it from memory for a group of people!!

Also, it might have helped if I made it more like au gratin potatoes and added a cheese soup to it.

Hmm...sounds good.  Maybe tonight will be an au gratin kind of night!
Better luck next time!!

Saturday, July 16, 2011

A Hearty Side Conversation

She said, he said...


"What's wrong with it?"
"Nothing, it's wonderful."


"There's really a lot of chicken and filler in there."
"Apparently. It's great, really."
"..."


"Okay, so here's the deal.  It's a really hearty side dish, and would be great with a filling soup - "
"I served it with a big salad for us to share!"


"Yes, or a salad.  I just wouldn't want this to be my whole dinner."
"But it's not."
"It's just a great side dish, like something you bring for a braai, or for soup."
"It's summer.  I thought salad was better."


"I'm not saying it's not wonderful.  I'm just saying it's a perfect side dish."

...

"Hehehe...  you just had cornbread for your dinner..."
"Yes.  *sigh*  Yes, I did."